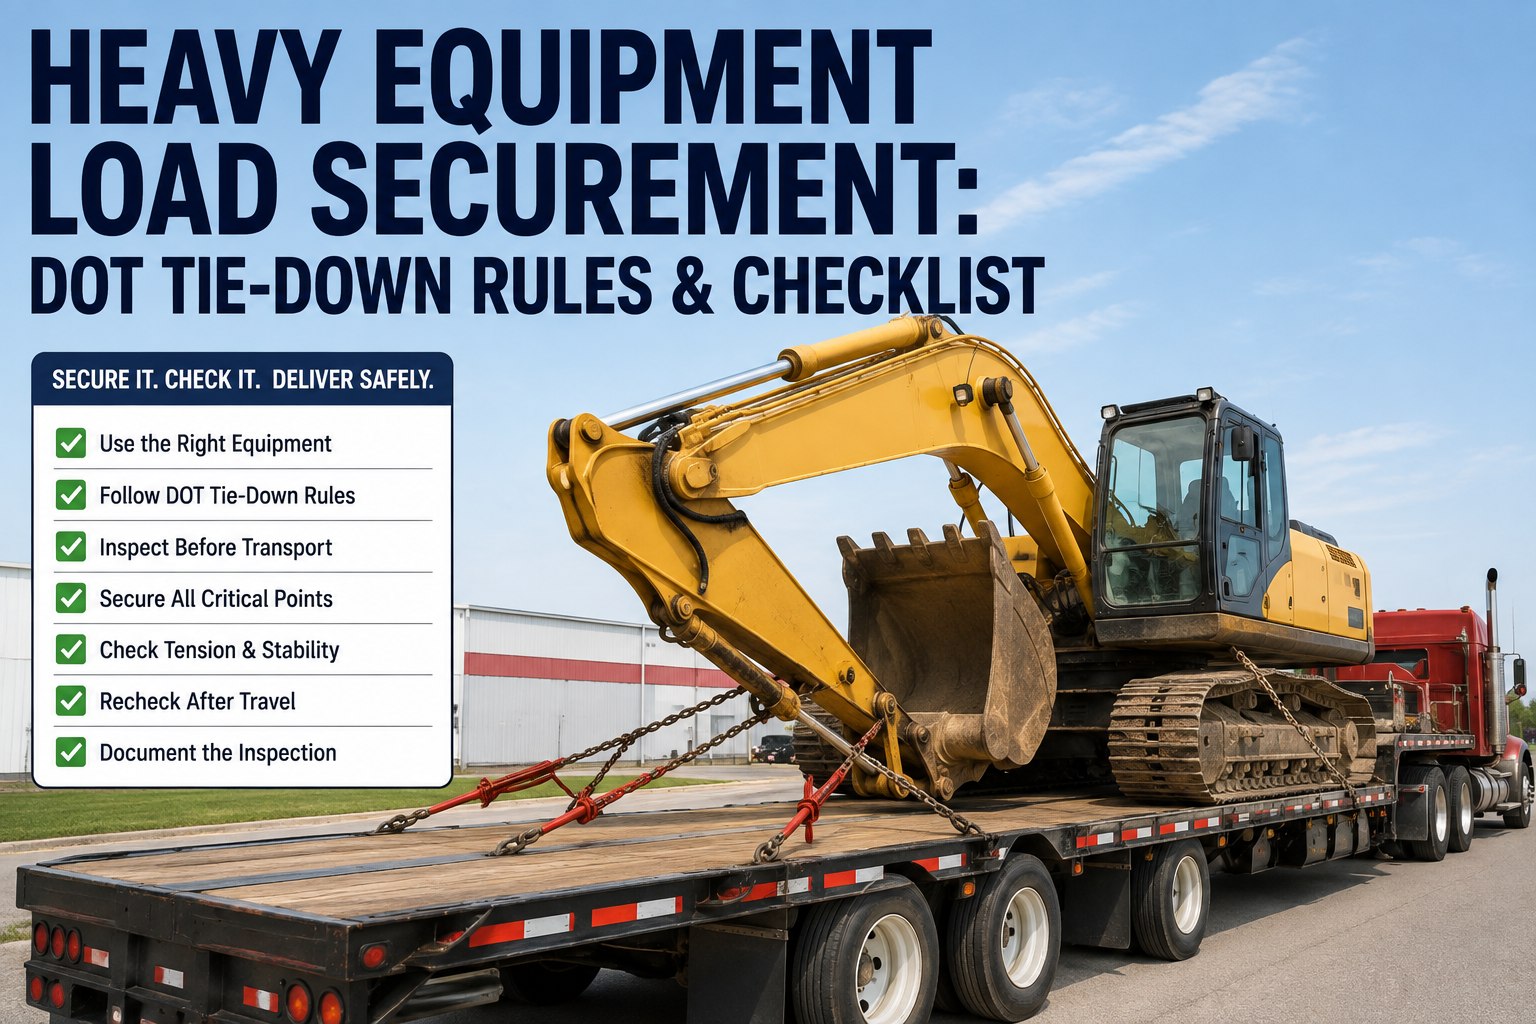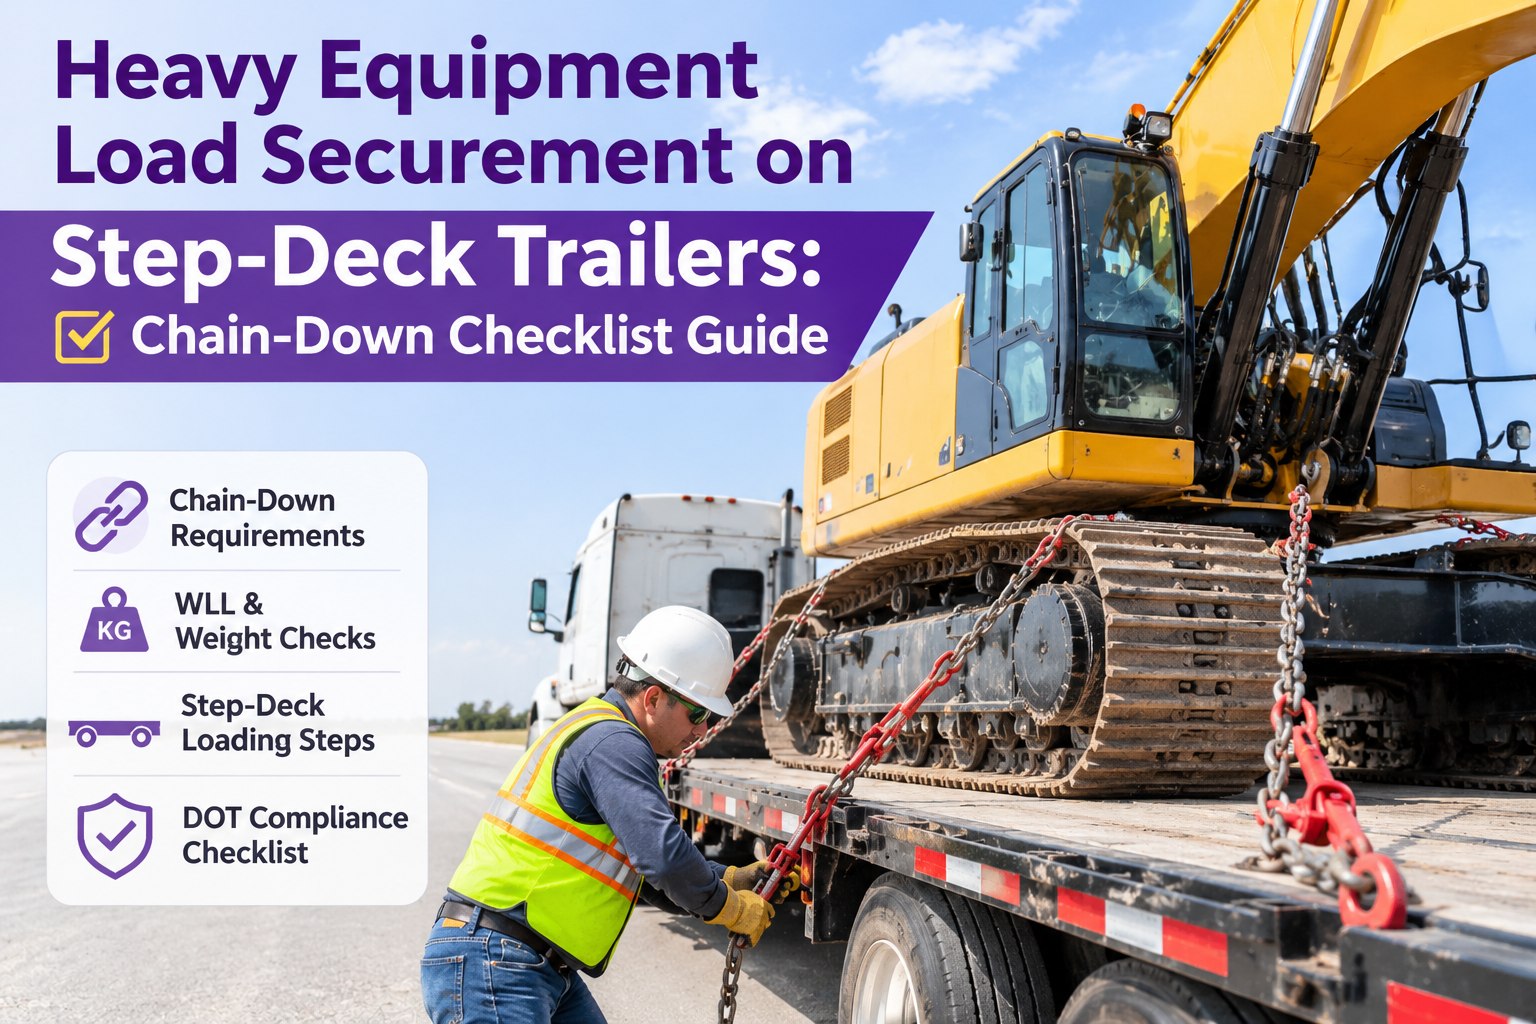
A loaded excavator can look perfectly parked on a step-deck and still be one hard brake or sharp curve away from shifting. Most securement failures are not mysteries: a chain that was too light, a tie-down point that was guessed, a boom left unsecured, or a load that was never re-checked. This heavy equipment securement checklist for step-deck trailers walks through the job in the order drivers actually do it: before loading, positioning, chain-down, attachments, pre-departure, and en route. It also explains working load limits (WLL) in plain terms and shows when to pull a chain out of service. Start free and turn this checklist into a driver inspection with photo proof.
Heavy Equipment Load Securement on Step-Deck Trailers: Chain-Down Checklist Guide
A rushed chain-down is how equipment shifts and citations happen. Truck Inspection & Maintenance Management Software gives drivers a guided securement checklist, lets them attach photos of the chain-down, and turns a bad chain or binder into a work order so it is pulled from service.
Know Your Deck: Where the Weight Should Sit
A step-deck has three working areas. Where you put the machine changes how the trailer rides and how much load each axle carries.
Balance the load so it does not overload the kingpin or any axle group, and check legal weight and height limits and permit needs for the route.
The Six-Phase Chain-Down Checklist
Work through each phase in order. Tick every box before moving on.
- Know the machine's actual weight, height, and width
- Find the maker's marked tie-down and lifting points
- Inspect every chain, binder, hook, and strap
- Sweep the deck clear of mud, ice, and debris
- Center the load side to side
- Place weight to protect the kingpin and axles
- Check overhead and side clearances
- Lower attachments and blades onto the deck
- Set the parking brake and shut the machine down
- Lock articulation points where fitted
- Remove the key and secure the cab doors
- Chock wheels or secure tracks as needed
- Use the maker's tie-down points, front and rear
- Restrain forward, rearward, and sideways movement
- Add edge protection where chain crosses a sharp edge
- Tighten binders evenly and secure the handles
- Walk the load and test each chain by hand
- Confirm total WLL against the load weight
- Check flags, lights, signs, and permits
- Take photos of the finished securement
- Re-check early in the trip
- Re-check at regular intervals and after any hard stop
- Retighten loose binders and recheck wear points
- Stop and fix a shifted load before continuing
WLL in Plain Terms
The working load limit is the most force a chain, binder, or hook should carry in service. It is marked on the gear, and a tie-down is only as strong as its weakest part.
The combined WLL is a minimum, not a target. Heavy equipment also has its own rules for the number and placement of tie-downs, so confirm them in §393.128.
Retire the Chain If You See Any of These
Pull Bad Gear Out of Service, Not Just Out of Sight
Drivers log the damaged chain or binder with a photo, the defect is graded, and a work order makes sure it is repaired or replaced. Start free or book a demo.
Special Equipment: Quick Securement Notes
The Re-Check Rhythm
Loads settle and chains loosen. Federal rules call for a check early in the trip and at regular intervals after that, so confirm the current requirements and add your own policy on top.
Frequently Asked Questions
Turn Your Securement Checklist Into a Driver Habit
Guided inspections, photo defects, traffic-light grading, and work orders in one system built for trucking fleets. Start free to build your checklist, or book a demo and we will walk through it with your fleet in mind.