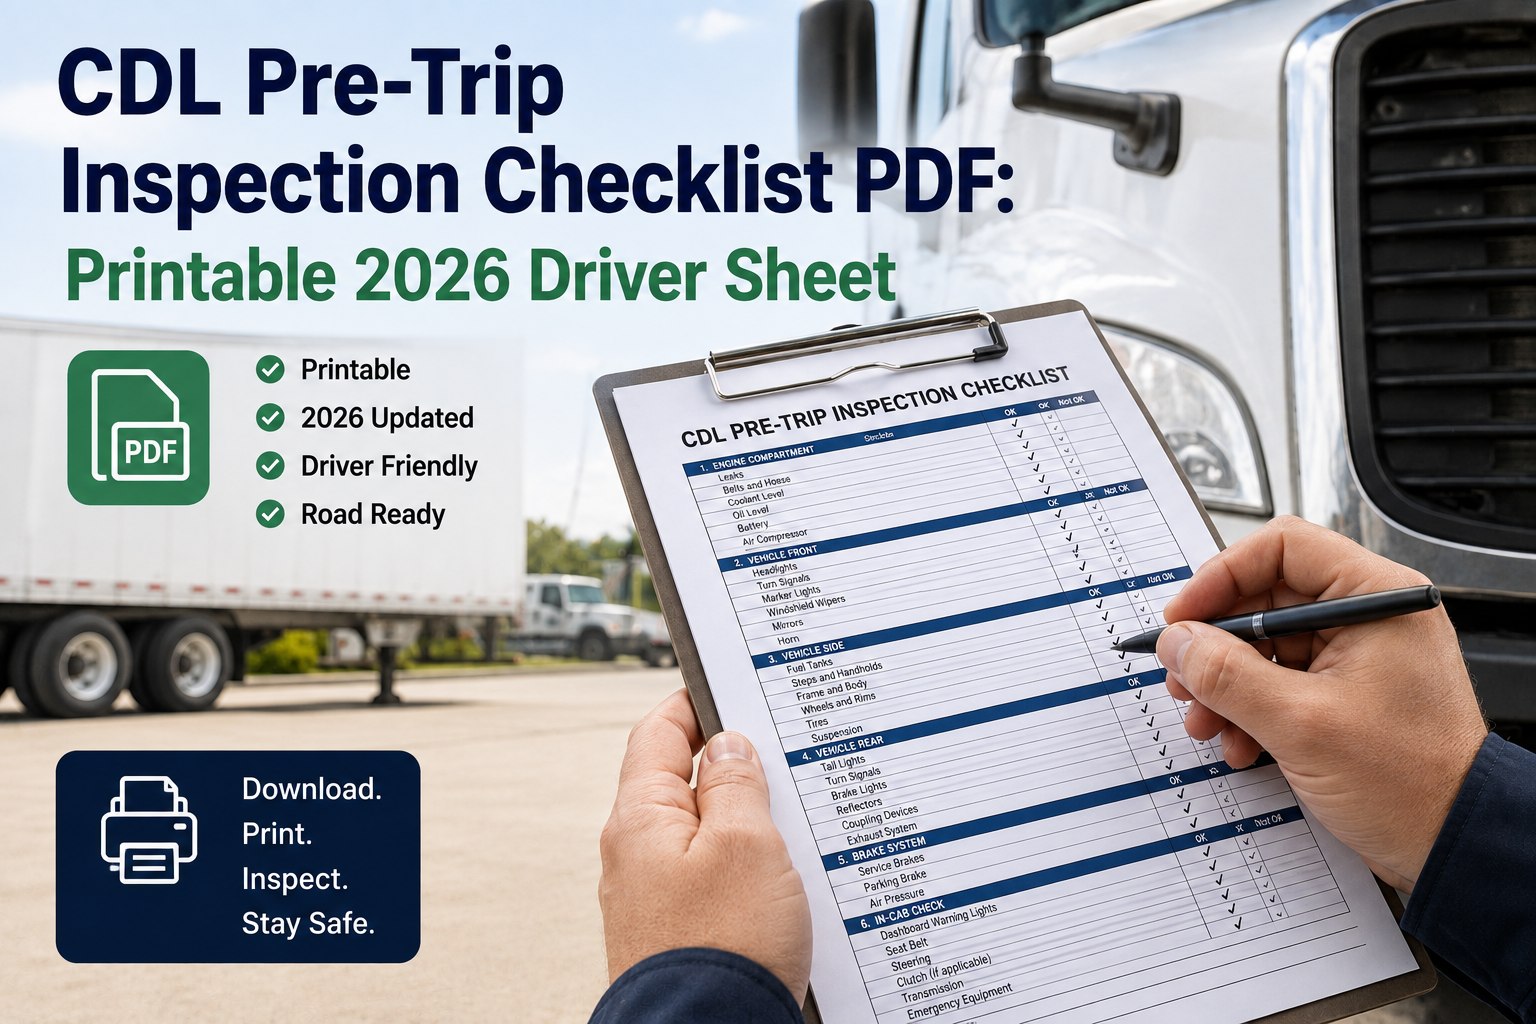
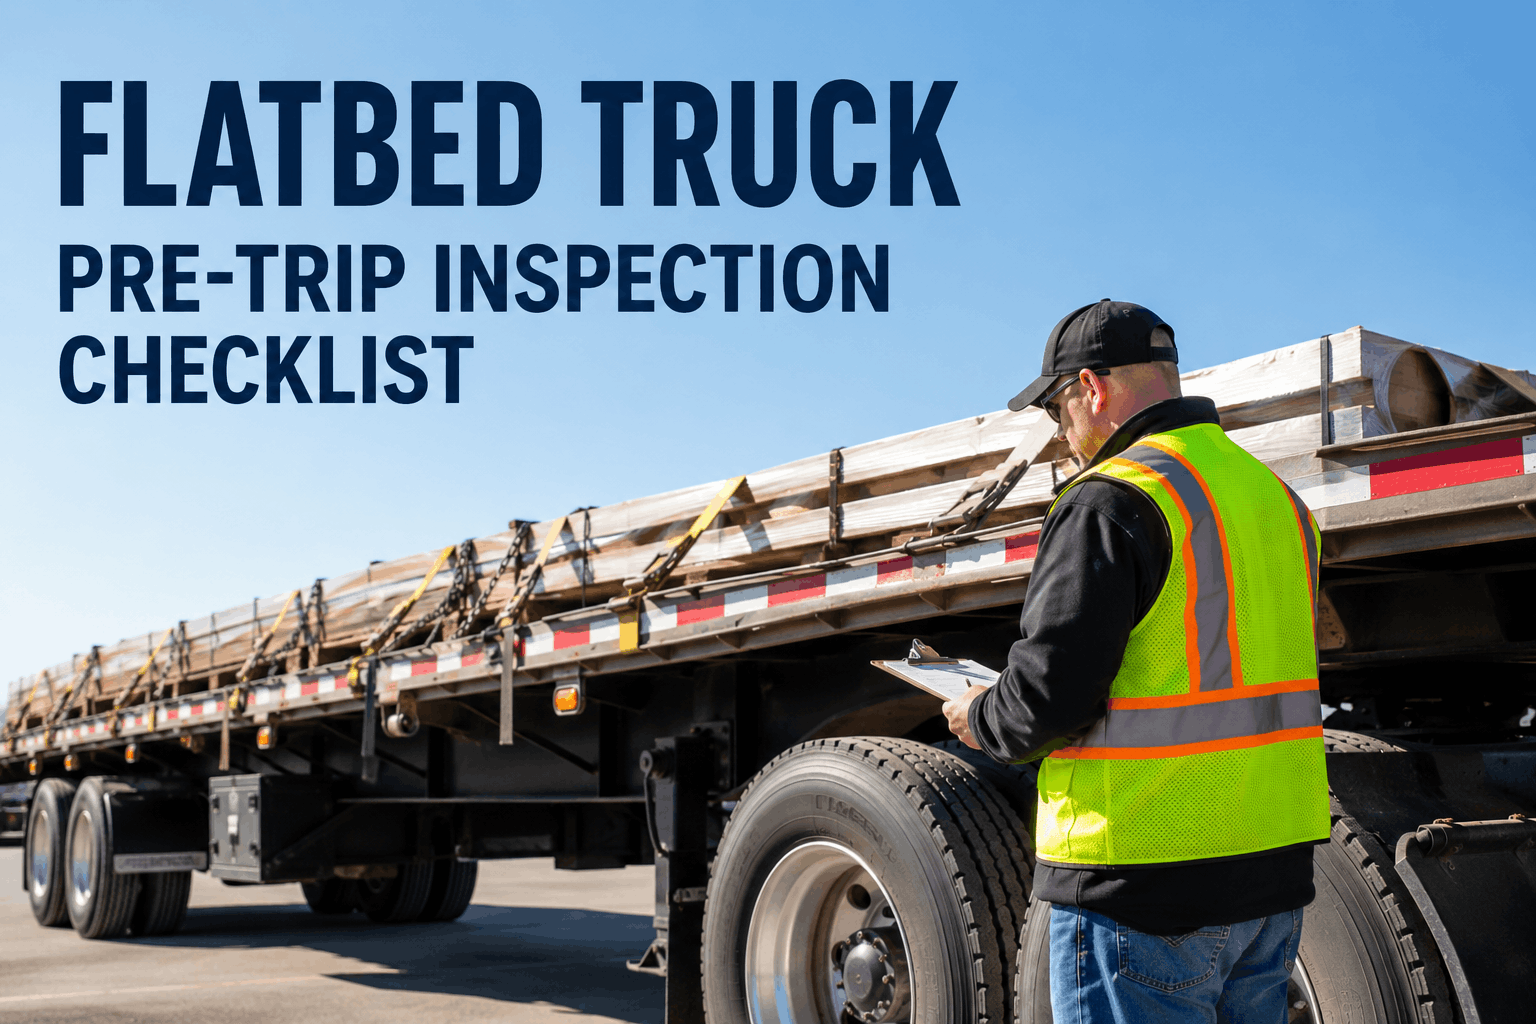
The CDL pre-trip inspection is the single most-failed portion of the commercial driver's license skills test — not because it's technically difficult, but because it requires memorizing 100+ inspection points, calling each one out loud in the correct order, and demonstrating three specific air brake tests without prompting from the examiner. Students who fail typically know how to inspect a truck; they just haven't memorized the callout sequence in the format the examiner is grading against. This guide covers the complete CDL pre-trip inspection: the CVSA-standardized walkaround sequence examiners use for grading, the "component-damage-appearance" callout method that guarantees no missed points, the exam-graded air brake test sequence with pass/fail criteria, and the specific §392.7 and §393 rules that back every inspection point. It also walks through how digital DVIR software becomes the daily habit after CDL exam, turning the 100-item verbal walkaround into a 3–5 minute voice-guided workflow with photo evidence, structured defect capture, and automatic FMCSA-compliant record retention. Passing the CDL pre-trip is the start — the pre-trip discipline afterward is what keeps drivers and carriers out of CSA and OOS trouble. Ready to see how professional fleets handle daily pre-trip after CDL certification? Start a free trial of our truck inspection software, or reach out to our support team for a walkthrough.
CDL Skills Test Study Guide
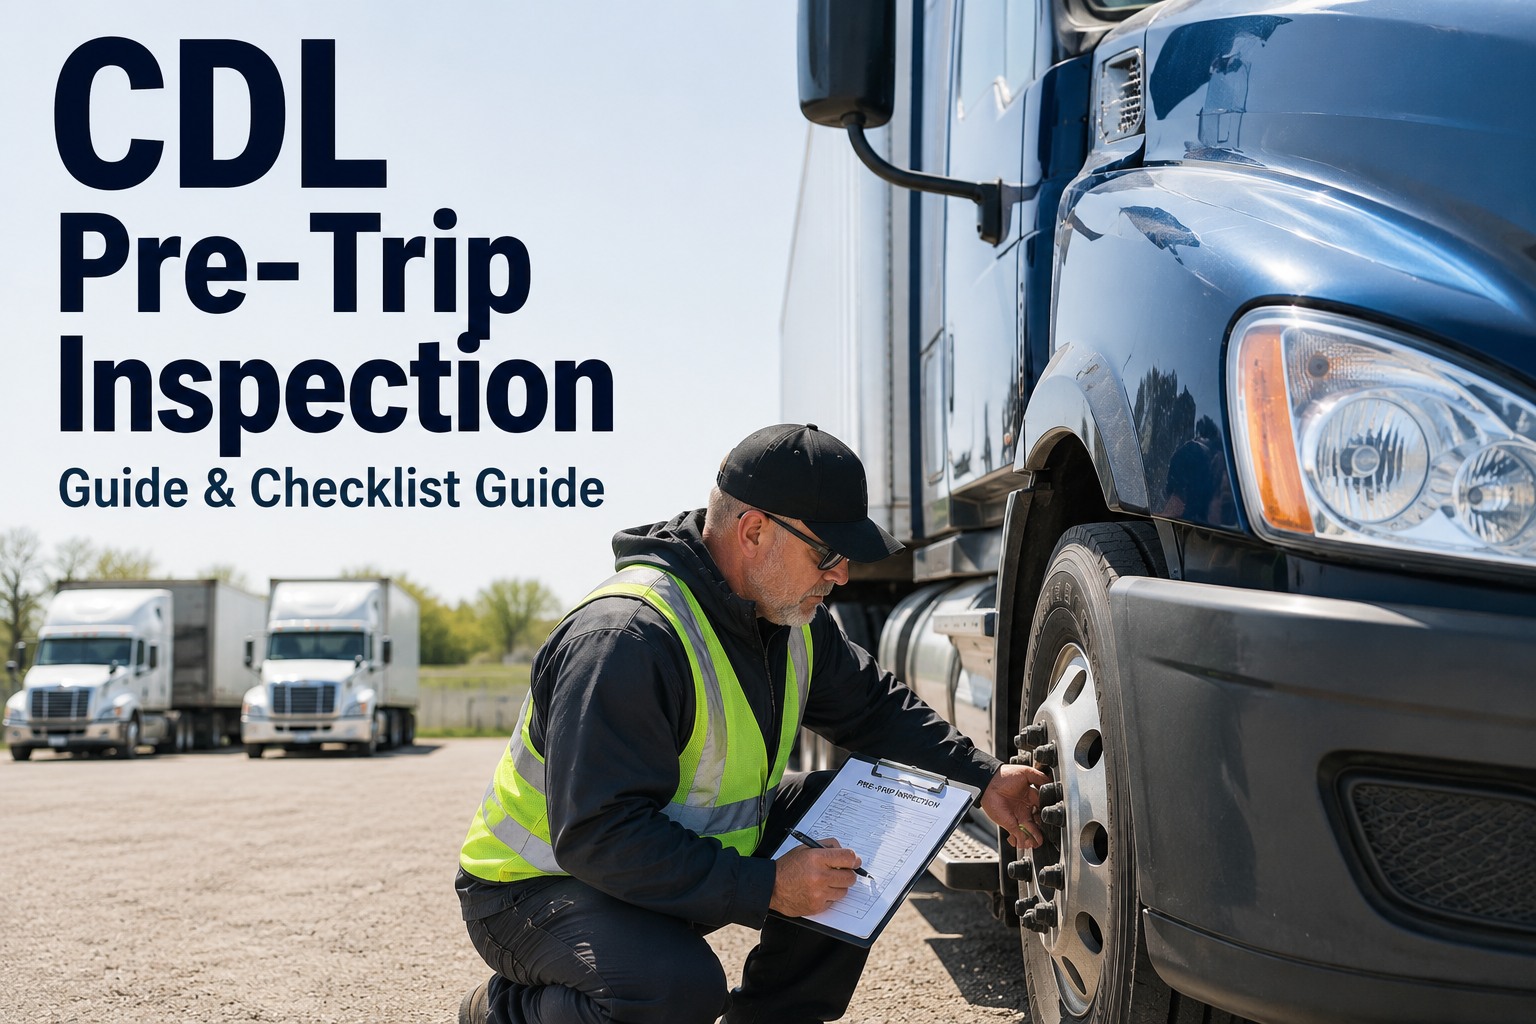
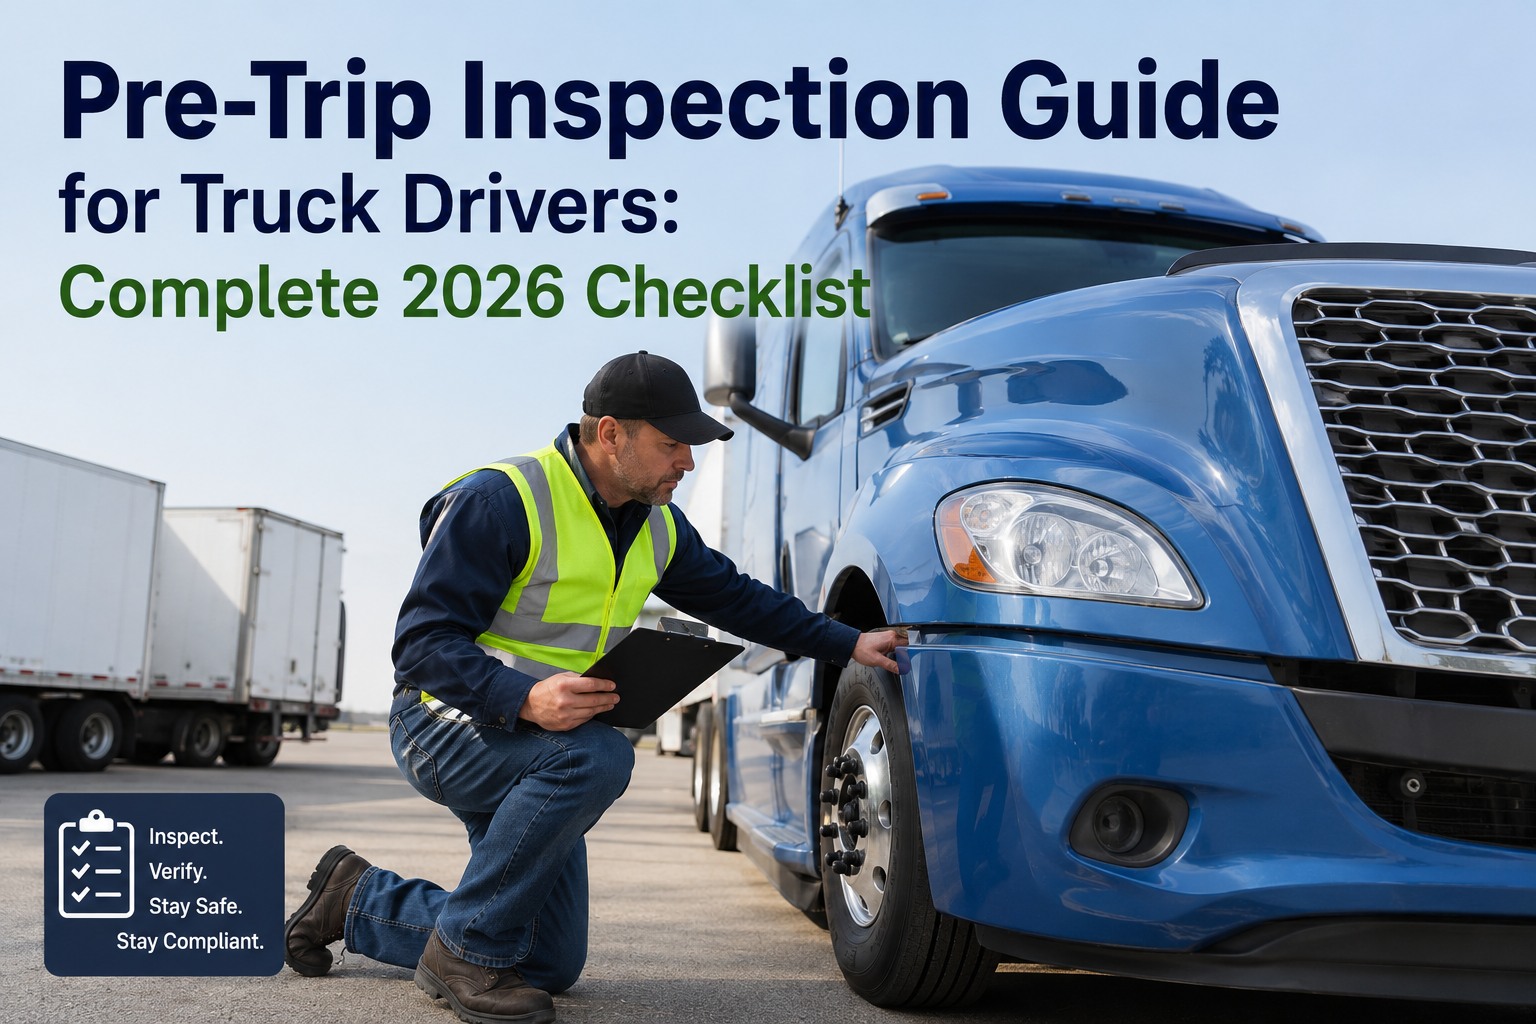
CDL Pre-Trip Inspection Guide & Complete Checklist 2026
The exam-graded walkaround, the callout method that beats memorization, the air brake tests examiners require — everything you need to pass, plus what to do daily after CDL.
100+
Inspection points graded
#1
Most-failed CDL section
3 tests
Air brake tests required
Why CDL Candidates Fail the Pre-Trip
Almost every candidate who fails the CDL pre-trip inspection fails for the same four reasons — and none of them are about not knowing trucks. They're about memorization and callout technique.
01
Silent Inspection
Examiners grade what you say out loud, not what you look at. Pointing at a component without naming it, describing damage, and confirming appearance gets zero credit.
02
Missed Items From Skipping Around
Non-systematic walkaround means missed items. Examiners expect a specific zone order — front, driver side, coupling, trailer, rear, cab.
03
Failed Air Brake Test Sequence
Three tests, specific order, specific PSI values, specific timing. Wrong order or skipped test = automatic fail on the air brake portion.
04
Vague Component Descriptions
"Brakes look good" doesn't pass. "Brake chamber securely mounted, no cracks, no oil leaks, hoses in good condition" passes. Specificity is the difference.
Exam InsightState examiners follow a scoring rubric. Every zone has minimum required callouts. Miss too many in any one zone, or miss the air brake test sequence entirely, and you fail regardless of how well you inspected the rest. Systematic technique beats mechanical knowledge.
The Callout Method That Guarantees Points
Every inspection point on the CDL exam is graded on three specific things you say out loud. Master this format for every item and you cover exam requirements automatically.
1
Name the Component
"Left front brake chamber"
Use the specific technical name, not general terms like "the brakes."
2
Check for Damage & Defects
"Securely mounted, no cracks, no visible damage"
List specifically what you're looking for. "No damage" alone is too vague.
3
Confirm Appearance & Function
"No oil leaks, hoses in good condition, pushrod stroke within limits"
Specific criteria means examiner knows you know what "good" means for this part.
EXAMPLE CALLOUT
"Left front brake chamber — securely mounted, no cracks, no visible damage, no oil leaks, hoses in good condition, pushrod stroke within adjustment limits. Slack adjuster — angle correct, secure, no play."
One 15-second callout covers 8 grading points on the examiner's rubric — component name, mounting, damage, leaks, hoses, stroke, adjuster angle, and adjuster security.
The 7-Zone Exam Walkaround (In Order)
State CDL exams grade candidates on a specific walkaround sequence based on CVSA standards. Deviate from the order and examiners have to hunt for missed items — which almost always results in point deductions.
START
01
Approach & Engine Compartment
General approach, under-vehicle check, hood-open inspection of engine, belts, hoses, wiring.
NEXT
02
Front of Vehicle
Windshield, wipers, mirrors, headlights, marker lights, front tires, steer axle brakes.
NEXT
03
Driver Side (Front to Rear)
Driver door, fuel tank, battery box, drive tires/rims, air lines, brake chambers, suspension.
NEXT
04
Coupling System
Fifth wheel, kingpin, glad hands, electrical connector, mud flaps behind drive axles.
NEXT
05
Trailer & Passenger Side
Trailer body, side markers, suspension, tires, brake chambers on passenger side of trailer.
NEXT
06
Rear of Trailer
Tail lights, brake lights, turn signals, DOT bumper, reflective tape, rear doors, load securement.
FINISH
07
In-Cab & Air Brake Tests
Gauges, controls, emergency equipment, then the three required air brake tests in sequence.
The Critical Callouts By Zone
Here are the specific callouts examiners grade in each zone. Master these and you cover every required point. General condition phrases don't earn points — specifics do.
ZONE 1: ENGINE COMPARTMENT
Engine oil — dipstick between marks, oil clean
Coolant level — between MIN and MAX in overflow tank
Power steering fluid — full, no leaks visible
Belts — no cracks, fraying, or missing sections, proper tension
Hoses — no bulging, cracks, or wet spots at connections
Alternator — mounting secure, wires connected, no burn marks
Water pump — no coolant leaks or crusty residue
Air compressor — mounting bolts secure, no oil around housing
Steering linkage — no loose or missing bolts, no worn joints
ZONE 2: FRONT OF VEHICLE
Windshield — no cracks in driver's field of vision, no discoloration
Wipers — both blades intact, no torn rubber, mounting secure
Mirrors — both driver and passenger side, adjusted, no cracks
Headlights — both high and low beam operational, aimed correctly
Turn signals — amber front, functional both sides
Marker/clearance lights — all lit, correct amber color
Steer tires — tread minimum 4/32, no cuts, no bulges, evenly worn
Steer axle brakes — chambers secure, no oil leaks, pushrod stroke within limits
ZONE 3: DRIVER SIDE
Driver door — hinges secure, handle functional, no damage
Fuel tank — mounting straps rated, cap sealed, no leaks
Battery box — mounting secure, cover latched, cables tight
Air lines — no chafing, no cracks, secured routing
Drive tires — tread minimum 2/32, matched pairs, no damage
Rims — no cracks, no rust streaks at lug positions
Lug nuts — all present, no shiny halos indicating movement
Hub — sight glass showing oil, no leaks from seals
Brake chamber — securely mounted, no cracks, no oil leaks
Slack adjuster — angle correct, secure, no play in linkage
Suspension airbag — inflated, no damage, no contact with frame
Shocks — no oil leaks, mounts secure to frame and axle
Driveshaft/U-joints — no missing bolts, no visible looseness
ZONE 4: COUPLING SYSTEM
Fifth wheel plate — greased, mounting bolts secure, no cracks
Locking jaw — closed on kingpin, no visible gap
Kingpin — fully seated, not high-hitched
Release handle — pushed all the way in, safety latch engaged
Glad hands — red and blue lines connected, rubber seals intact
Electrical connector — 7-pin fully seated, cable secured
Mud flaps — present behind drive tires, no tears
DOT reflective tape — intact, no peeling on tractor rear
After CDL: turn daily pre-trip into a 4-minute voice workflow
Same 100-item inspection, guided walkaround, voice-triggered photos, structured defect capture.
Continued: Zones 5, 6 & 7 Callouts
ZONE 5: TRAILER & PASSENGER SIDE
Trailer front wall — no cracks, no visible load-shift damage
Side marker lights — all lit, amber color, no cracked lenses
DOT reflective tape — full-length red-and-white pattern intact
Trailer air lines — no chafing on frame or suspension
Trailer suspension — airbags inflated, no sagging, shocks secure
Trailer tires — tread minimum 2/32, matched on tandem axles
Trailer rims — no cracks, all lug nuts present, no rust streaks
Trailer brake chambers — securely mounted, no leaks
Sliding tandem lock pins — both fully engaged in locked position
ZONE 6: REAR OF TRAILER
Tail lights — both red, both functional
Brake lights — brighter than tail lights, both sides functional
Turn signals — functional both sides, correct color
DOT reflective tape — full pattern across rear, no peeling
Rear impact guard — mounted, no cracks or missing bolts
Rear doors — hinges secure, latches functional, weather seals intact
Load securement — straps torqued, WLL adequate for cargo weight
License plate — visible, plate light functional
ZONE 7: IN-CAB CHECKS
Gauges — oil pressure, coolant temperature, voltmeter, air pressure all normal
Warning lights — none active after startup
Seat belt — buckle functional, webbing not frayed
Horn — both electric and air horn functional
Wipers/washers — full sweep, no streaking, fluid sprays
Mirrors — adjusted for full rearward view
Steering play — no more than 10 degrees before wheels respond
Emergency triangles — three reflective, present in cab
Fire extinguisher — gauge green, seal intact, mounted securely
Spare fuses — required inventory present per owner's manual
The Three Required Air Brake Tests (Exam Order)
The air brake test is where most CDL candidates fail. Three specific tests, specific order, specific criteria. Miss the sequence and you fail regardless of how well you inspected the truck.
TEST 1
Air Leak-Down Test
Engine off, trailer connected, wheels chocked
Step 1: Build air pressure to governor cut-out (120–140 PSI)
Step 2: Turn engine off, release parking brakes
Step 3: Time 1 minute — pressure drop should be under 2 PSI
Step 4: Apply and hold service brake, time 1 more minute — drop should be under 3 PSI
FAIL: pressure drop exceeds limits = leaking air system
TEST 2
Low Air Warning Test
Engine off, after leak-down complete
Step 1: With engine off, fan the brake pedal to reduce air pressure
Step 2: Watch and listen for warning to activate
Step 3: Warning must activate before pressure drops below 55 PSI
Step 4: Announce PSI value when warning activates
FAIL: warning doesn't activate above 55 PSI = defect
TEST 3
Spring Brake & Service Brake Test
Continue fanning pedal after low air warning
Step 1: Continue reducing air pressure by fanning brake
Step 2: Spring brakes/parking brakes should engage automatically at 20–45 PSI
Step 3: Announce PSI value when spring brakes engage
Step 4: Rebuild pressure, release parking brake, roll at 5 mph, apply service brake — should stop firmly and smoothly
FAIL: spring brakes don't engage above 20 PSI, or service brake grabs/pulls/delays
Exam TipCall out every PSI reading as you observe it. "Low-air warning activated at 62 PSI. Spring brakes engaged at 32 PSI." The examiner is timing you and listening for the specific numbers — silent tests don't get credit.
Common Exam Mistakes That Cost Candidates the Test
State exam data shows the same six mistakes appear on almost every failed CDL pre-trip. Avoid these and you'll pass — even if your inspection technique isn't perfect.
01
Silent Pointing
Pointing at a component without naming it and calling out damage/defect criteria. Examiner grades speech, not gestures.
02
Skipped Air Brake Test
Forgetting or partially completing any of the three required tests. Automatic fail on air brake portion regardless of the rest.
03
Random Walkaround Order
Jumping around the truck. Examiners lose track of covered items and default to marking missed. Systematic order is graded.
04
Vague Damage Descriptions
"Looks fine" or "no problems" doesn't earn points. "No cracks, no oil leaks, mounting bolts tight" earns points.
05
Not Announcing PSI Values
Air brake tests require specific pressure callouts. Silent PSI observations get zero credit.
06
Forgetting Emergency Equipment
Emergency triangles, fire extinguisher, spare fuses. Required inventory that candidates skip because it's not on the vehicle.
Life After CDL: What the Daily Pre-Trip Should Look Like
Passing the CDL exam is one thing. Doing a real pre-trip inspection twice a day for a career is another. Here's how professional fleets handle it after CDL certification.
CDL EXAM PRE-TRIP
30–40 min
Verbal walkaround with examiner, every component named aloud, air brake tests demonstrated. Passes exam, doesn't scale to daily fleet use.
POST-CDL DAILY PRE-TRIP
3–5 min
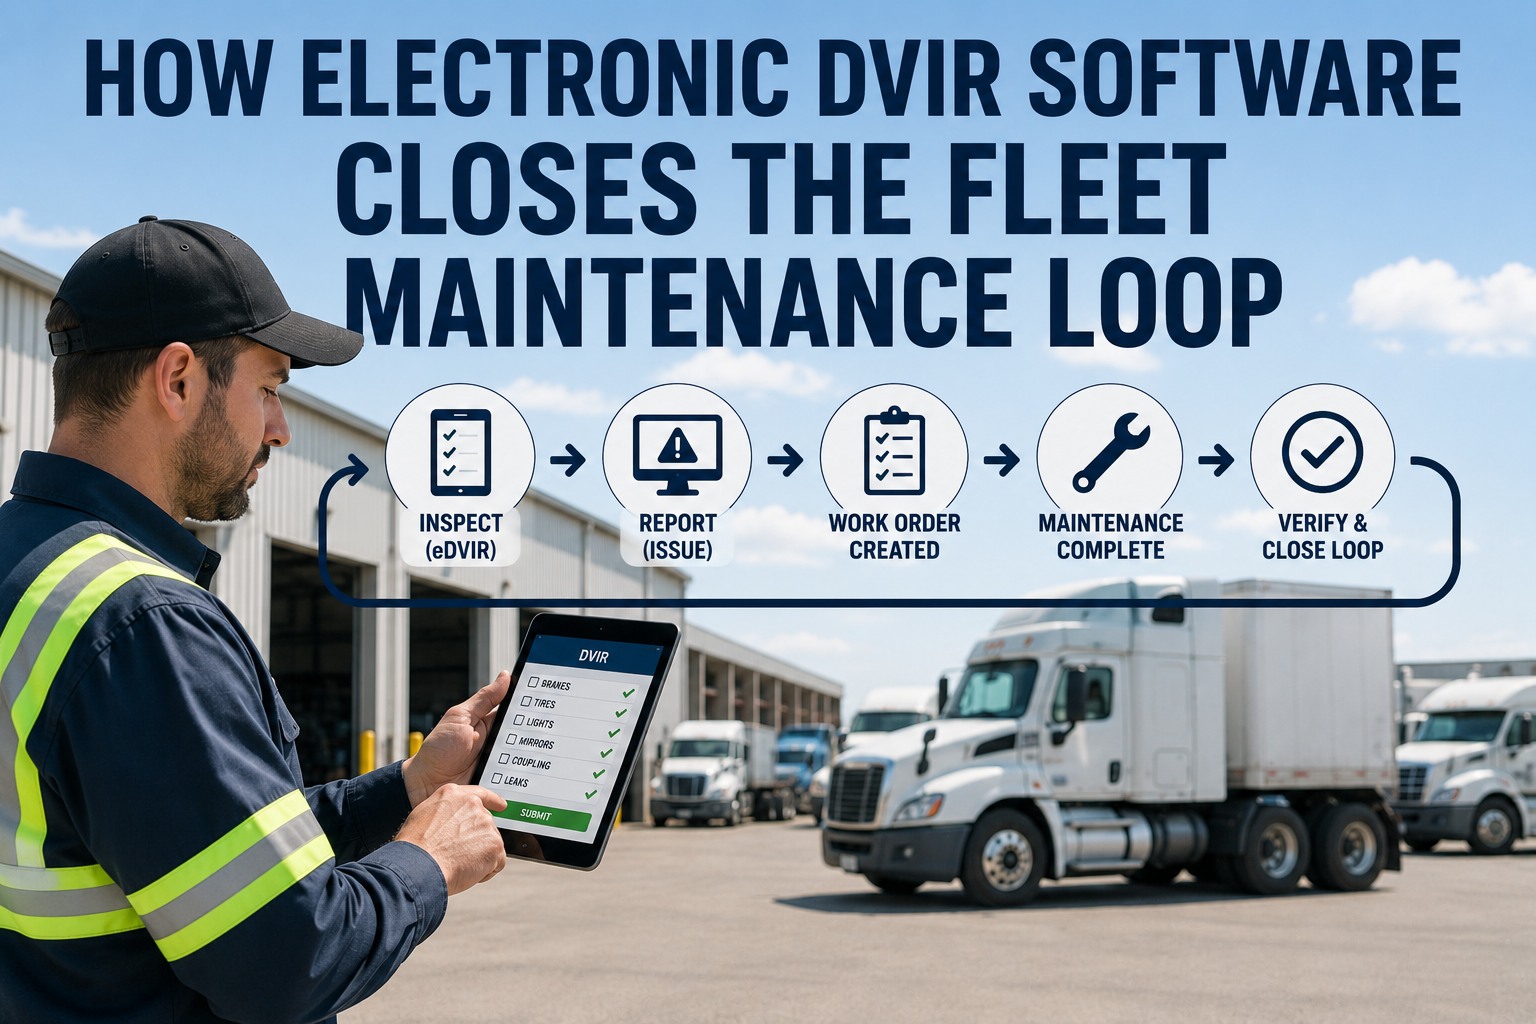
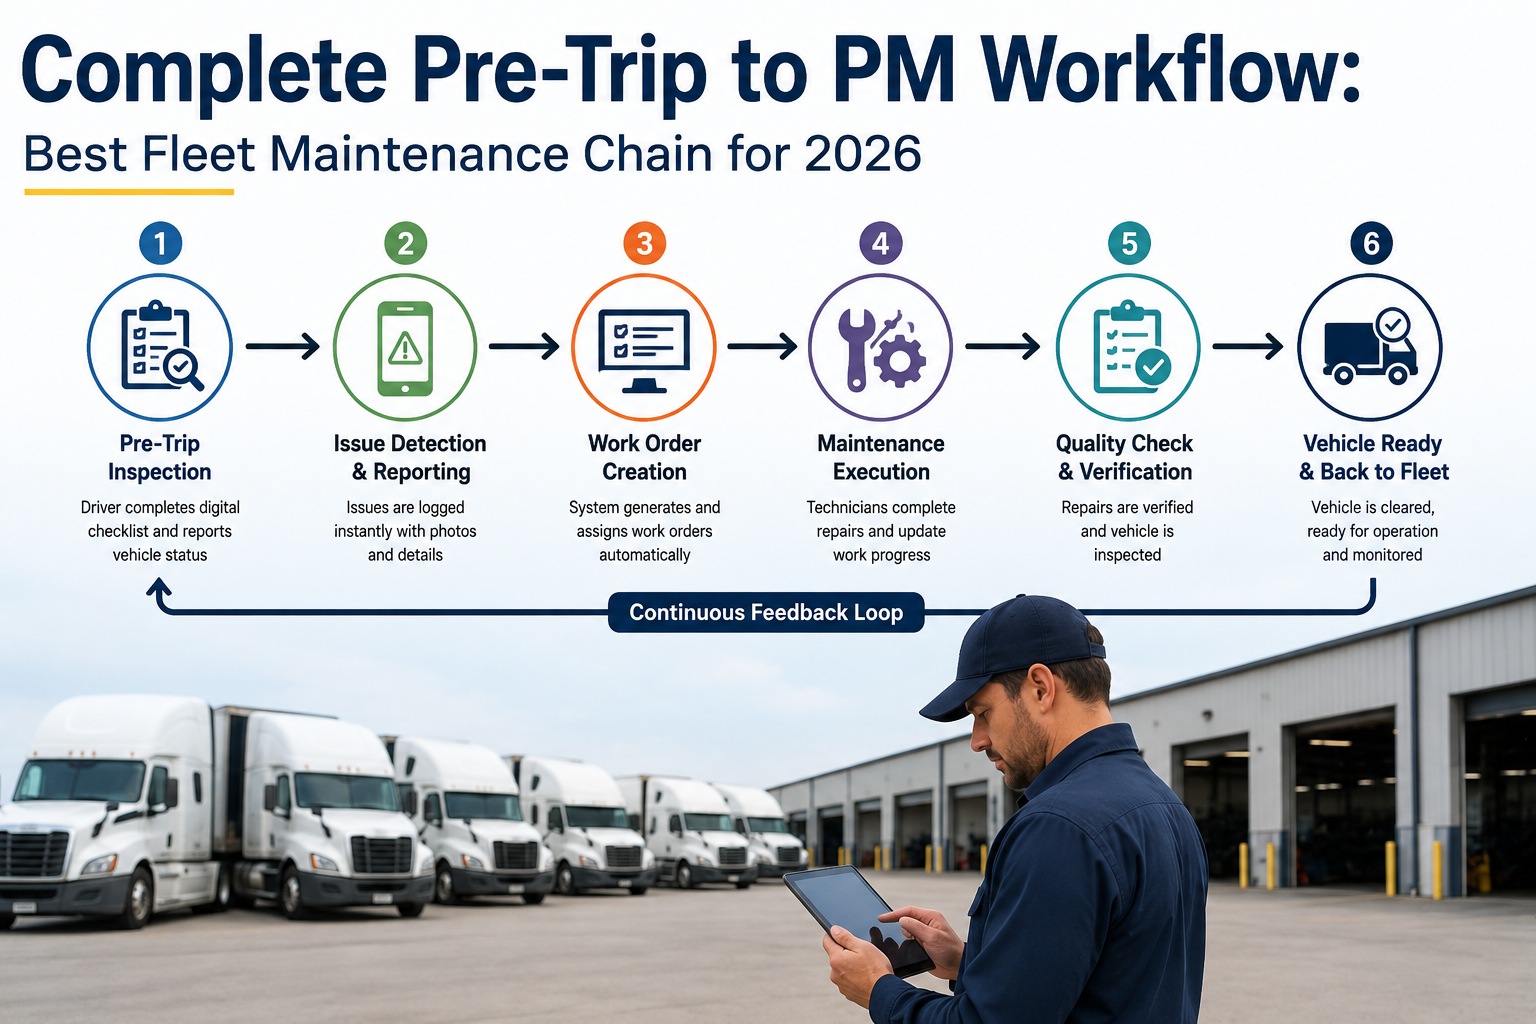
Voice-guided walkaround via digital DVIR. Structured defect capture. Photo evidence on voice command. FMCSA §392.7 and §396.11 records auto-generated with 3-month retention.
The transition
Same 100-item inspection depth, 90% less time — because voice AI does the tracking, timestamping, and documentation.
The Compliance Chain: CDL to CSA
The CDL pre-trip is the first inspection in a driver's career. Every one after that either builds the safety record or damages it. Here's how the compliance chain works.
01
Driver Pre-Trip Under §392.7
Every driver, every day, before every trip. Systematic walkaround identifies defects before they become roadside violations.
02
DVIR Under §396.11
End-of-day report documenting anything found during pre-trip, en-route, or post-trip. 3-month retention required.
03
Maintenance Response
Defects documented on DVIR trigger maintenance work orders. Chain of custody from finding to repair signed by mechanic.
04
Roadside Inspection Record
DOT inspector examines truck plus recent DVIRs. Defects missed on DVIR that appear roadside damage CSA score directly.
05
CSA Score Impact
Roadside violations feed the Vehicle Maintenance BASIC. High scores trigger DOT intervention. Career and carrier both at risk.
Frequently Asked Questions
Purpose-built for commercial fleets
From CDL exam to daily fleet pre-trip in 4 minutes
Voice-guided walkaround following CVSA standards. Structured defect capture. Voice-triggered photos. Auto-routing to maintenance for safety-critical items. FMCSA §392.7 and §396.11 records generated automatically with 3-month retention. Same 100-item inspection depth CDL exams grade — done twice a day, every day, without the paperwork.
No credit card required • AI-powered inspection platform • Trusted by fleets across North America