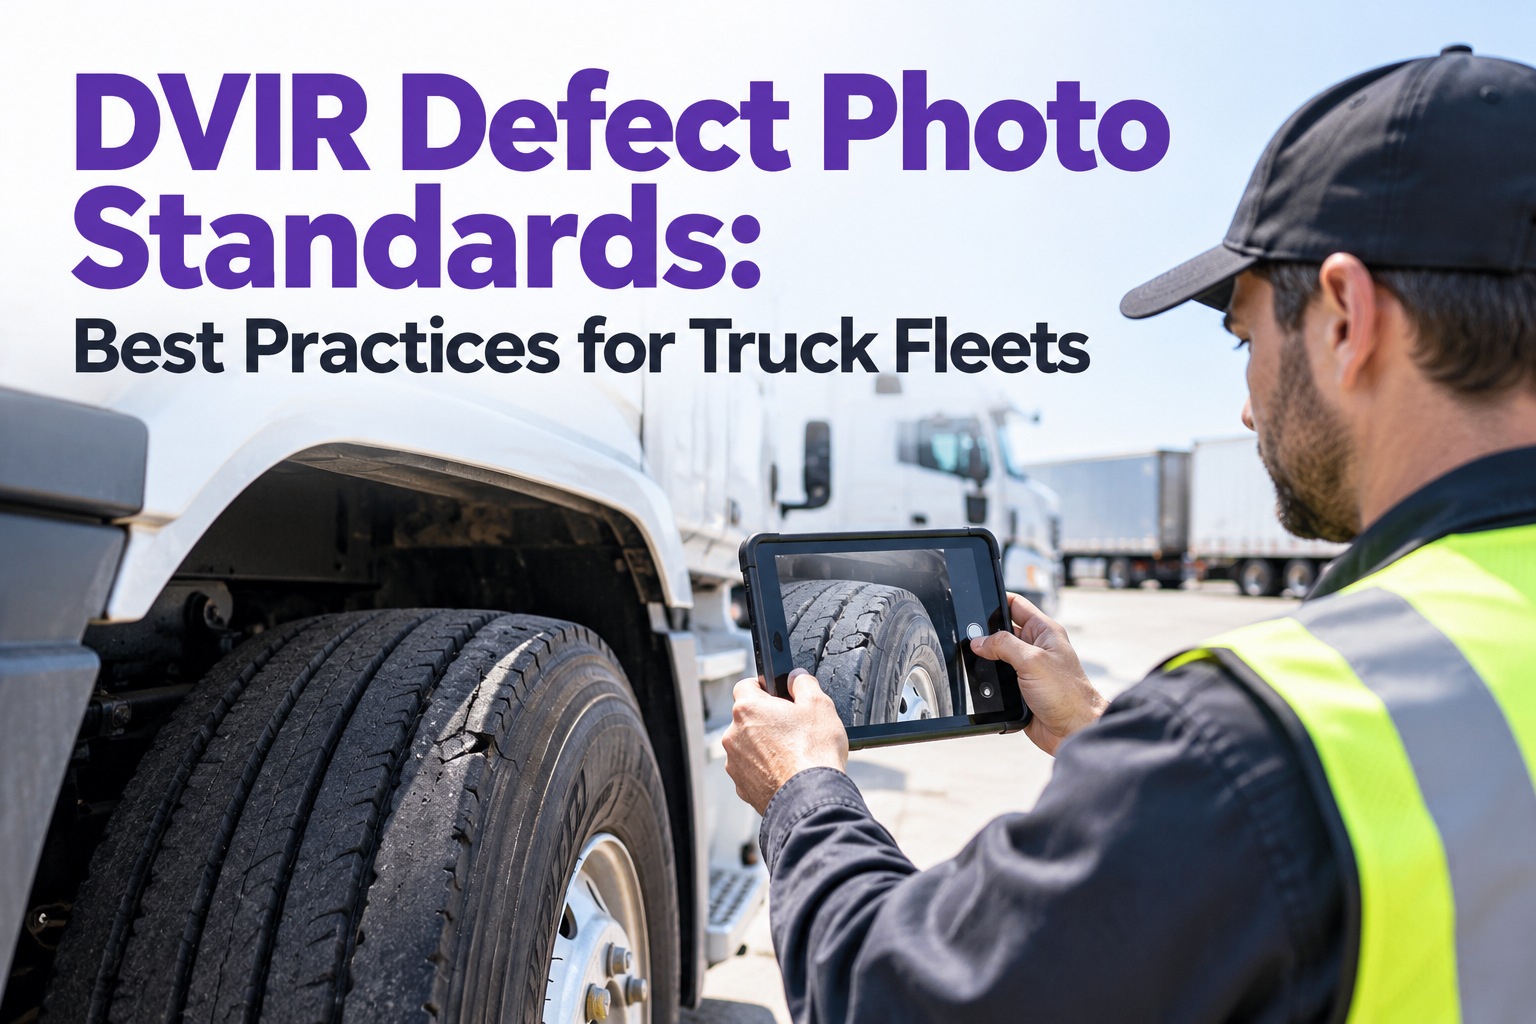
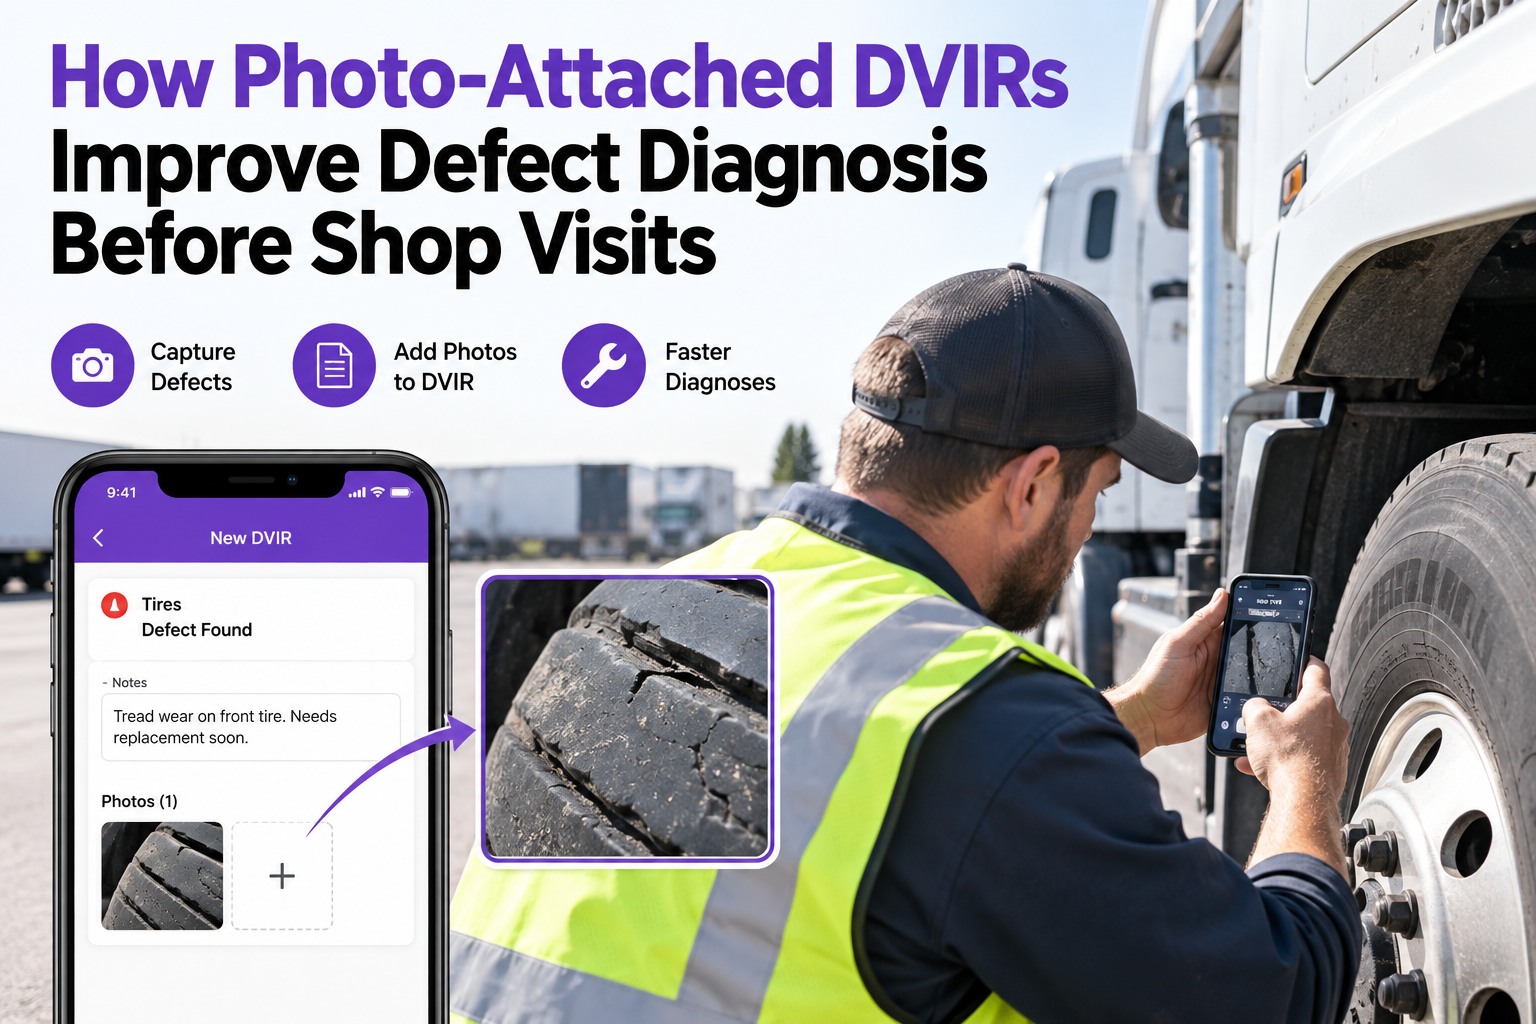
A driver writes "brake issue" on the post-trip and clocks out. Three weeks later a roadside inspector — or a DOT auditor — asks what that actually looked like and whether it was fixed, and all anyone has is two vague words. One clear photo would have settled it: what the defect was, how bad, and that the repair matched the report. That's the gap DVIR photo standards close. This guide covers what 49 CFR 396.11 actually requires, why most defect photos fail when they matter, and the framing, lighting, and metadata rules top fleets put in writing — with Truck Inspection & Maintenance Management Software (TIM) turning each photo into a graded, tracked repair. Start free and attach a photo to every defect with TIM.
TIM · DVIR Photo Standards
"Brake Issue" Won't Survive an Audit. A Clear Photo Will.
A vague defect line stalls the shop, gets argued at roadside, and falls apart three months later when someone asks for proof. One standard photo — framed, lit, and stamped with truck, date, and location — tells the mechanic exactly what to fix and shows an auditor the repair matched the report. TIM captures that photo inside the DVIR and turns it into a graded, assigned work order the moment a driver files it, so the evidence and the fix live on the same record.
Every photographed defect gets a first response within 4 hours — acknowledged, graded for severity, and assigned to a name — not sitting unseen in a driver's phone.
What 49 CFR 396.11 Actually Requires
Photos aren't mandated by the regulation — but everything a photo supports is. Knowing exactly what the rule demands is what turns a photo from a nice-to-have into the fastest way to satisfy it. Here's the regulatory spine every fleet's photo policy should hang on.
✎
Describe the defect specifically
The written DVIR must record what the defect is, where, and when it was noticed — vague lines like "brake issue" don't meet the intent. A photo makes "specific" effortless.
◷
Keep records for 3 months
Carriers must retain each DVIR and its repair record for at least three months. A photo attached to the record is retained with it — not lost on a phone that gets wiped.
✔
Certify the repair before return to service
The record must show the reported defect was repaired — or that no repair was needed — before the truck runs again. A before/after photo pair proves the chain.
Regulatory summary of 49 CFR 396.11 for general guidance — photo practices are best practice, not a stated mandate. Confirm requirements against the current rule and your own DOT counsel.
Why Most Defect Photos Fail When They Matter
A photo only counts if it answers the question three weeks later. Most don't — not because drivers won't shoot them, but because no one told them what a usable photo looks like. These are the failure modes a written standard exists to kill.
✕
Too close, no contextA macro shot of rust could be any truck, any panel. Without a wide shot too, no one can place it.
✕
Too dark to readShot under the trailer at 6 AM with no flash — the defect is there, but invisible. Lighting isn't optional.
✕
No unit, date, or locationA clear photo with no metadata can't be tied to a truck or a day — so it proves nothing in an audit.
✕
Stuck in a text threadPhotos sent to a dispatcher's phone never reach the DVIR record — they're gone by the time anyone needs them.
A photo policy fixes the first three; the right system fixes the last one by capturing the photo inside the inspection itself. Contact our team to build photo capture into your DVIR workflow.
The Five DVIR Photo Standards Top Fleets Require
Turn the failure modes above into rules a driver can follow in ten seconds. These five standards are what separate a photo that closes the loop from one that just fills storage.
01
Two shots: wide, then closeA wide shot to place the defect on the vehicle, a close shot to show the detail. One without the other leaves a question.
02
Light it so the defect readsUse the phone flash or reposition for daylight. If you can't see the crack on the screen, neither can the mechanic or the auditor.
03
Stamp unit, date, time, locationEvery photo tied to the truck ID, timestamp, and GPS — automatically, not typed. Metadata is what makes it evidence.
04
Give scale where it mattersA hand, a glove, or a tool in frame turns "a crack" into "a four-inch crack." Severity you can see beats severity you guess.
05
Attach it to the DVIR, not a chatThe photo belongs on the defect record from the moment of capture — so it's graded, routed, and retained with everything else.
A Photo Standard Only Works If the Photo Reaches the Record
The best framing rules in a driver handbook do nothing if the photo lands in a text thread. TIM captures the photo inside the DVIR itself — stamped with unit, time, and GPS — and the moment a driver files it, the defect becomes a severity-graded work order routed to the shop. The evidence, the grade, and the repair certification all live on one record that's retained the full three months. That's a photo standard that actually holds.
What to Shoot, by Defect Type
The five standards apply everywhere, but the shot changes with the defect. Here's the quick guide drivers can keep in the cab — what the wide and close shots should capture for the most common post-trip finds.
| Defect type | Wide shot | Close shot | What proves severity |
| Tires |
Full wheel & axle position |
Tread, sidewall, or exposed cord |
Tread gauge or coin for depth |
| Brakes |
Wheel end / drum in place |
Crack, lining, or leak point |
Tool or hand for crack length |
| Lights |
Rear or side of unit, lamp off |
Broken lens or dark lamp |
Second shot with lights on |
| Fluid leaks |
Under-truck area & source |
Drip point / wet component |
Ground puddle for volume |
| Coupling |
Fifth wheel / pin engaged |
Wear, gap, or damage |
Scale object beside the gap |
| Body / frame |
Panel or rail in context |
Crack, rust-through, or bend |
Hand or glove for scale |
How TIM Runs It
From Photo to Graded Work Order — One Record
TIM isn't a camera roll bolted to a checklist. The photo is captured inside the DVIR, keyed to the unit, and turned into a repair the shop can act on — with the audit trail assembling itself as it goes.
Photo inside the inspectionDrivers shoot the defect from within the DVIR — no separate app, no text thread, no lost images.
Auto-stamped metadataUnit ID, date, time, and GPS attach to every photo automatically — the evidence layer, without typing.
Photo → graded work orderA photographed defect becomes a severity-ranked, assigned repair the moment it's filed.
Before/after repair proofThe fix photo pairs with the report photo, so the certification chain is visible end to end.
Retained with the recordPhotos are kept with the DVIR and repair record for the full three-month window — never on a wiped phone.
Audit-ready exportPull any unit's photo-backed DVIR history in seconds when a roadside stop or DOT review asks.
Frequently Asked Questions
Does FMCSA require photos on a DVIR?
No. 49 CFR 396.11 requires a written report that describes each defect and a record showing it was repaired — or that no repair was needed — before the vehicle returns to service, retained for at least three months. It doesn't mandate photos. But a photo is the fastest way to meet the "describe the defect specifically" intent and to prove the repair matched the report, which is why most top-performing fleets require them by internal policy even though the regulation doesn't.
Start free and make photo-backed DVIRs standard with TIM.
How many photos should a driver take per defect?
At least two: a wide shot that places the defect on the vehicle and a close shot that shows the detail. A wide shot alone can't show severity; a close shot alone can't be located on the truck. For anything where severity is the question — a crack, a leak, worn tread — add a scale reference like a hand, glove, or tool in frame, and a second "after" shot once it's repaired to complete the certification chain.
What metadata should every DVIR photo carry?
Unit ID, date, time, and location — captured automatically, not typed by the driver. Metadata is what turns a clear image into evidence: without it, a photo can't be tied to a specific truck on a specific day, so it proves nothing in an audit or a roadside dispute. Systems that stamp this at the moment of capture remove the weakest link, since a driver keying it in by hand is where errors and omissions creep in.
Why do defect photos in a text thread cause problems?
Because they never reach the record that has to survive. A photo sent to a dispatcher's phone isn't attached to the DVIR, isn't retained with the repair record, and is usually gone by the time an auditor or the next driver needs it. It also breaks the chain: no one can prove the photo matches the defect line or the repair. The fix is to capture the photo inside the inspection itself, so it's graded, routed, and retained with everything else.
How long do DVIR photos need to be kept?
Follow the DVIR retention rule they support: carriers must keep each DVIR and its associated repair record for at least three months under 49 CFR 396.11. A photo attached to that record should be retained on the same schedule, so it's available for the full window if a defect or repair is ever questioned. Keeping photos on personal phones fails this outright — they get wiped, replaced, or lost long before three months pass.
Two Shots · Well Lit · Stamped · On the Record
Make Every Defect Photo Prove Something
A photo standard isn't about better cameras — it's about a photo that answers the question weeks later: what the defect was, how bad, and that the repair matched. Two shots, lit so the defect reads, stamped with unit and time, attached to the DVIR instead of a text thread. TIM captures that photo inside the inspection and turns it into a graded, assigned, retained repair — so your evidence and your fix are always on the same record.
No credit card required · Free for up to 3 trucks · Photo capture, severity grading, and DVIR retention built in