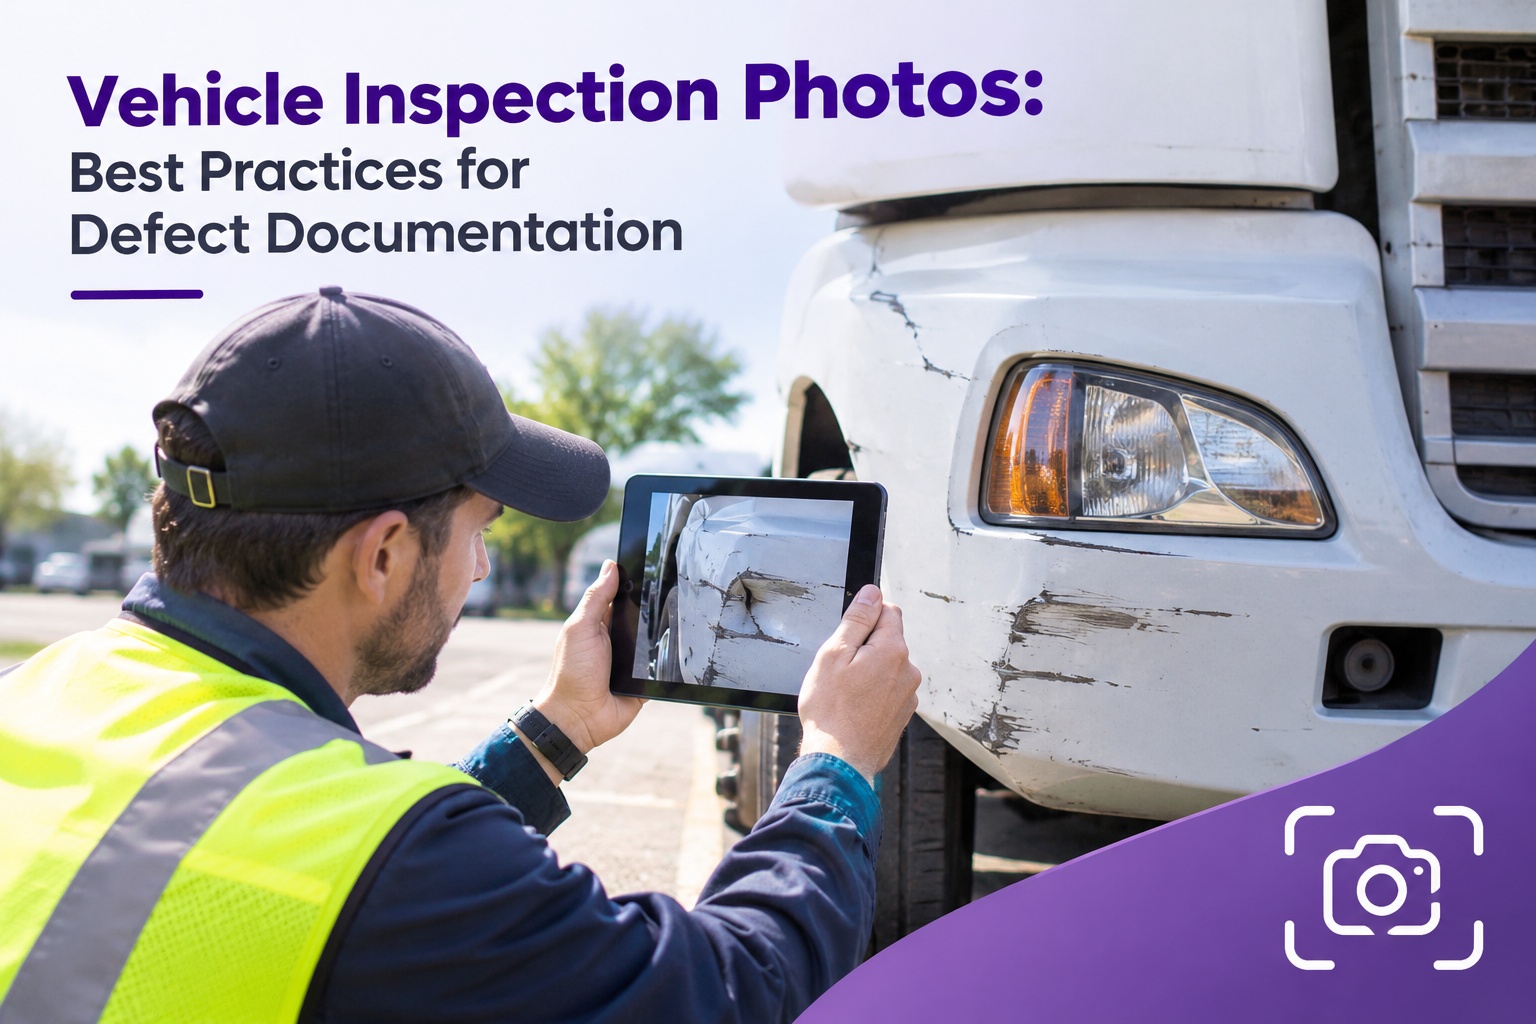
“The brake was fine when I parked it.” “That dent was already there.” Without a photo, every defect conversation turns into one person's word against another's, and the repair waits while everyone argues. A clear, timestamped photo ends the debate in seconds and tells the shop exactly what to fix. This guide shows how to photograph vehicle defects so the images hold up: the three-shot method, what to shoot for each defect type, how to keep the original files intact and how Truck Inspection & Maintenance Management Software attaches every photo to a defect, a work order and the truck's record. Start free and attach photos to every defect.
Capture · Attach · Respond · Close Out
Vehicle Inspection Photos: Best Practices for Defect Documentation
A defect without a photo gets argued about. A defect with one gets fixed. In Truck Inspection & Maintenance Management Software, a photo goes straight onto the defect, and every logged defect gets a guaranteed 4-hour first response: acknowledged, graded and assigned. The after-repair photo then closes the loop on the truck's record.
No credit card required. Free for up to 3 trucks.
1CaptureDriver or tech photographs the defect at the truck.
2AttachThe photo is saved on the defect and the unit.
34-hour responseAcknowledged, graded and assigned.
4Prove the fixAn after-repair photo closes the work order.
The Three-Shot Method: Wide, Medium, Close
One close-up tells a reviewer what the damage looks like but not where it is or which truck it belongs to. Take three shots, moving from the whole picture to the detail.
Shot 1 · Wide
The whole truck or trailer from a few steps back, with the unit number visible.
Shot 2 · Medium
The axle, panel or component area, so the viewer sees where the defect sits.
Shot 3 · Close
Move in on the defect itself, in focus, with a coin, tape or ruler for scale.
The result
Anyone can tell which truck, which spot and how bad.
What to Shoot for Each Defect Type
DefectCapture thisCommon mistake
TiresSidewall damage, tread with a depth gauge in frame, low pressure readingPhotographing the tire without showing which position it is
BrakesAir chamber and pushrod, linings or drums where visible, damaged linesSkipping the wide shot that shows the axle
LightsLamp or lens defect with the light switched on and offDaytime shot where you cannot tell if it works
LeaksThe source, the drip or puddle, and the fluid levelOnly the puddle, with no source
Body damagePanel overview plus a close-up with a scale referenceShooting at an angle that hides the dent depth
Photo Do's and Don'ts
Do
- Photograph before the truck is moved or repaired
- Use good light and hold the phone steady
- Include the unit number in at least one shot
- Keep the original, unedited file
Don't
- Send photos through messaging apps, which can strip details
- Rely on screenshots of photos
- Take close-ups only, with no context
- Wait until tomorrow to shoot it
What a Defensible Photo Record Shows
A photo is stronger when the record around it answers the obvious questions. Aim for these five on every defect.
📅 Date and time📍 Where it was taken🚚 Truck or trailer number🔧 Component and severity👤 Who reported it
Location and time details help support a claim but work best alongside other records, since device settings can be inaccurate.
The Photo's Journey: From Capture to Closed Record
1 · PhotographWide, medium and close shots at the truck.
2 · Log defectAdd the component, notes and severity.
3 · RespondFirst response within 4 hours.
4 · RepairWork order with parts and labor.
5 · VerifyAfter-repair photo, then close.
⚠️
Keep records longer than the minimumUnder FMCSA rules, carriers must keep DVIRs and repair certifications for three months. Damage claims and disputes can surface later, so many fleets keep photos on the truck's record for the life of the vehicle. Check your own retention policy and insurer requirements.
Stop Arguing. Start Fixing.
Attach photos to every defect, get a 4-hour first response and keep before-and-after proof on each truck. Start with up to 3 trucks free.
How the Software Keeps Photo Evidence in One Place
Photos on the defectImages attach to the defect when it is logged, not buried in a phone.
4-hour first responseEvery defect is acknowledged, graded and assigned.
Before and afterRepair photos stay on the work order as proof of the fix.
History by truckEvery photo lives on that truck's record, ready when asked.
Frequently Asked Questions
How many photos should I take of a defect?
Why shouldn't photos be sent through a messaging app?
Messaging apps often compress images and can remove the details stored in the original file, such as the time it was taken. Capture and store photos directly in your inspection system.
Should I edit or crop inspection photos?
Keep the original unedited. If you need to mark up an image, save the marked copy separately.
How does software help with defect photos?
Capture · Respond · Repair · Prove It
Give Every Defect a Photo and a Plan
Document defects the right way, get a 4-hour first response and keep before-and-after proof on every truck.
No credit card required. Free for up to 3 trucks.