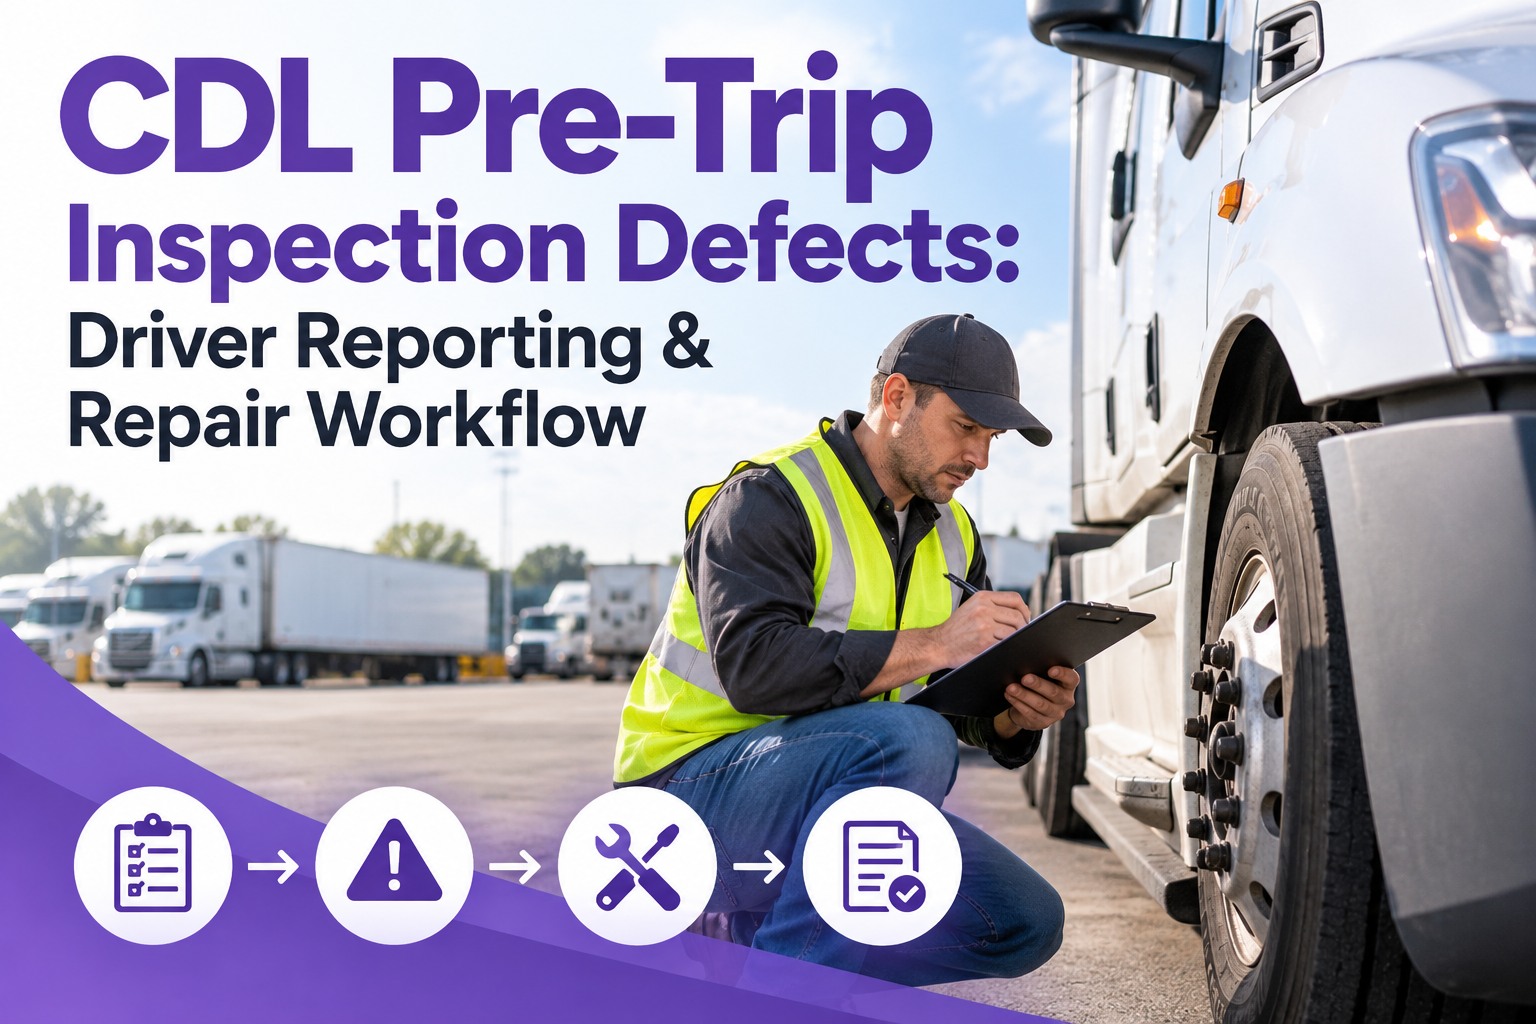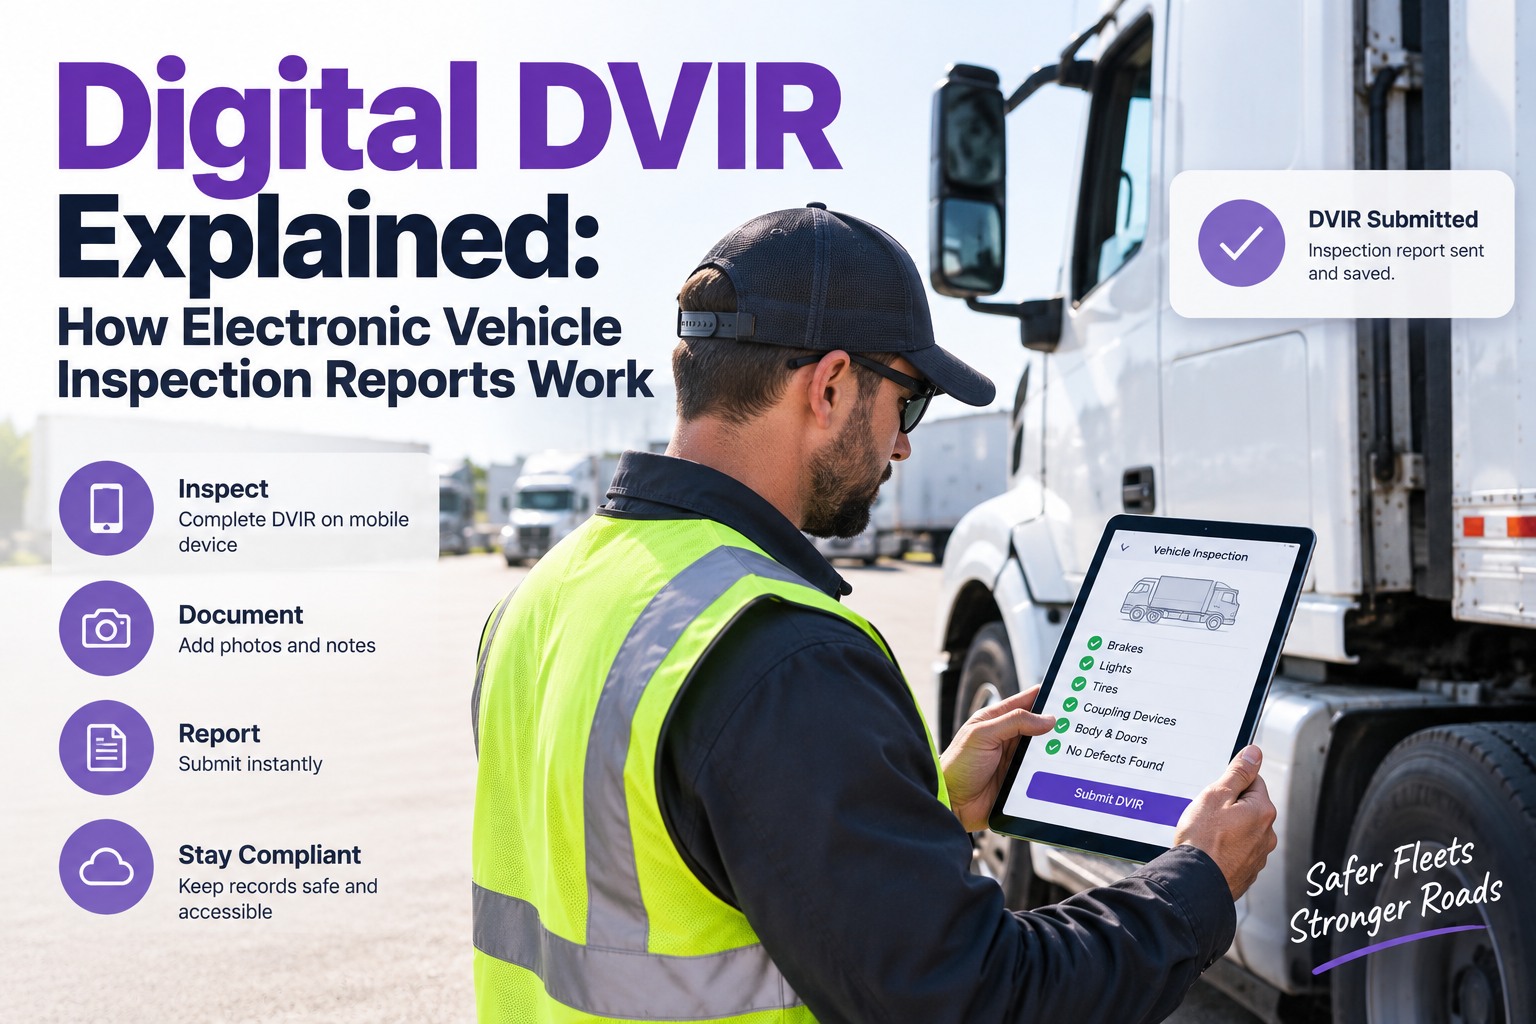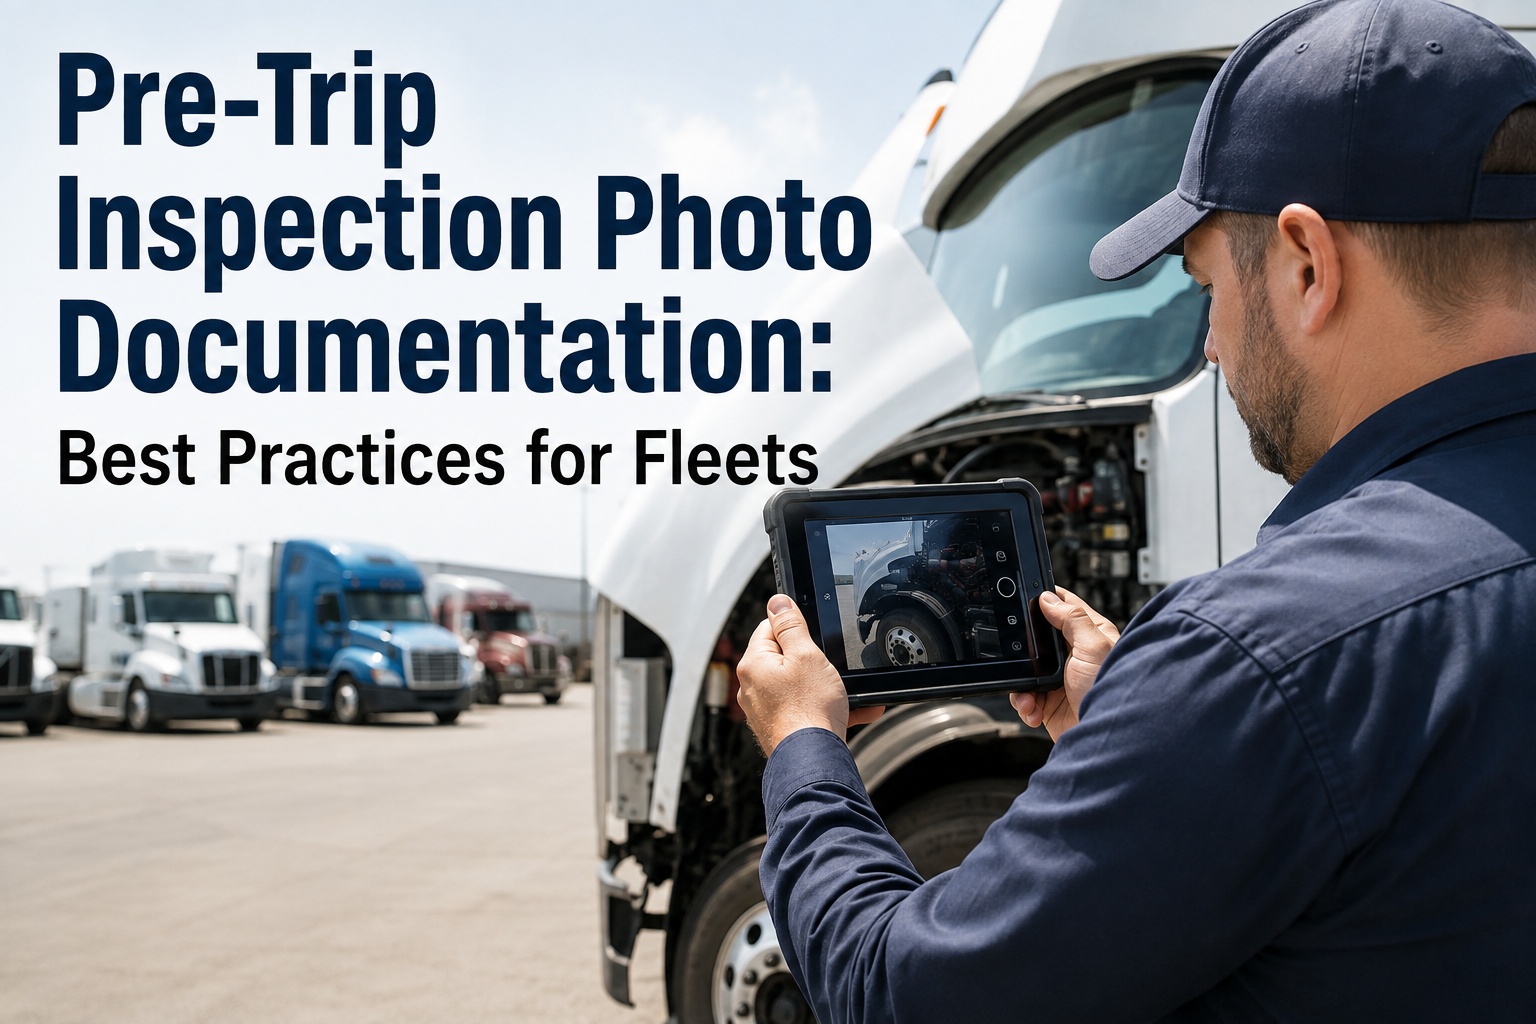
A line that reads "cracked mirror" is worth something in an audit room. The same defect with a timestamped, GPS-tagged photo beside it is worth far more — it proves the driver stood at the component and saw what they wrote. This guide shows how to photograph a pre-trip defect so it holds up, classify it so it reaches the right queue, and let Truck Inspection & Maintenance Management Software bind the photo, location and work order into one record. Start free and document every defect that holds up in an audit.

CDL Pre-Trip · Defect Photo Documentation

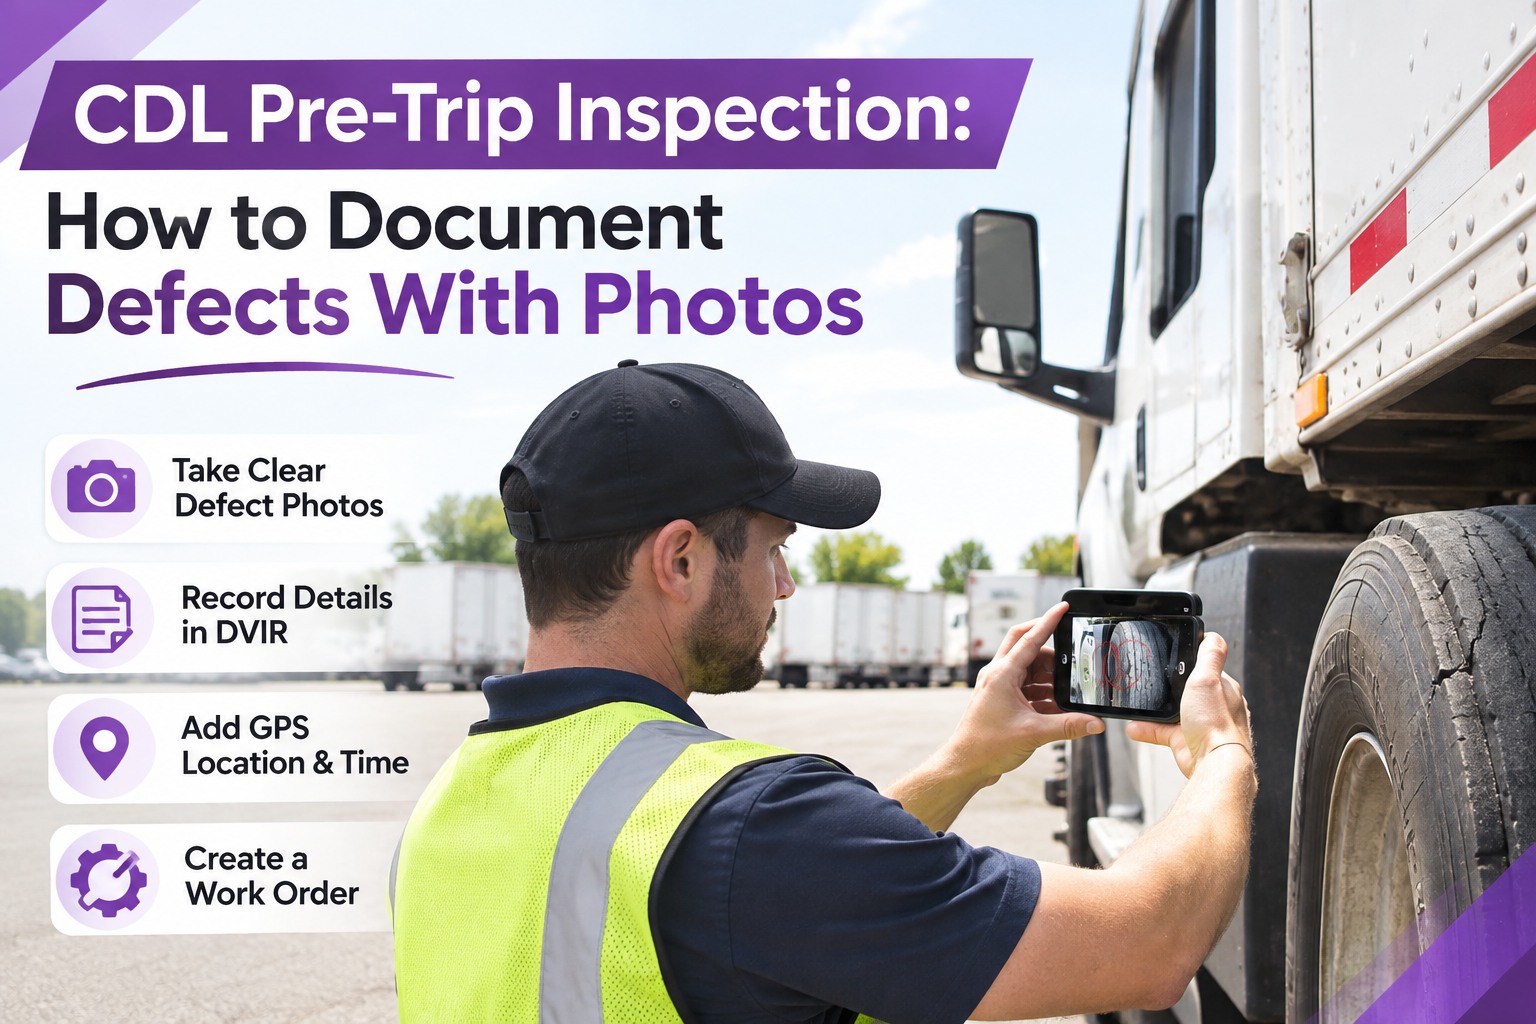
CDL Pre-Trip Inspection: How to Document Defects With Photos

A defect caught on the walk-around only matters if it reaches the shop — too often it's a scribbled line and a camera-roll photo nobody can find. Truck Inspection & Maintenance Management Software runs the loop: the driver photographs the defect, it's stamped with GPS and time, graded by severity and routed to a ranked work order — with a guaranteed 4-hour first response, so every defect is acknowledged, graded and assigned before the truck rolls.

A Photo Isn't Evidence Until It Carries Five Things

A picture with no location, time or link to the inspection item is worthless the moment anyone disputes it. Five fields, stamped automatically at capture so no one can add them later, turn a snapshot into evidence.

◎GPS locationProves the inspection happened in the yard, not off-site.
◷TimestampA server-verified stamp, not a resettable phone clock.
☖Driver IDTies the image to an authenticated person.
▣Asset / VINBinds the photo to the exact vehicle record.
⚑Severity tagDecides where the defect goes next.

Metadata added by hand carries little weight — it has to embed at capture, with no way for the driver to switch it off. Book a demo to see all five stamped automatically.

The Four Shots That Make a Defect Undeniable

Metadata proves the photo is real; framing proves what it shows. Four shots per defect move from the whole component down to the exact fault.

1Wide / contextThe component in place, so a reviewer knows what part this is.
→
2Close-upThe damage at high resolution — crack, bulge or leak, obvious.
→
3ScaleA tread gauge or hand for size — "looks worn" becomes a reading.
→
4Component IDPosition or part marking, pinning the fault to one spot.

Those angles let the shop order parts and plan the fix before anyone walks back to the truck. Start free and guide drivers through the right shots.

Not Every Defect Gets the Same Treatment

The same photo standard applies to all three tiers — but the severity tag decides where the defect goes next.

CriticalOut-of-service hold
Brakes, steering, lights, leaks. The unit goes straight to an out-of-service hold and leaves the dispatch board until the work order closes.
MajorFix before next dispatch
Affects safe operation but can be scheduled. Under §396.11 it must be repaired and certified before the vehicle runs again.
MinorLog and monitor
Cosmetic, no safety effect. Log it, photograph it, recheck at the next pre-trip so it never quietly worsens.

Make severity a tag on the record, so a critical defect can never be logged as minor and rolled out. Book a demo to see severity routing.

Every Defect Photographed, Tagged and On the Record

A photo required before a failed item submits, stamped with GPS and time, routed by severity, and kept for the audit — so the record proves what was found, when, and where.

From Phone to Shop Queue in Seconds

Photographing a defect well is half the job; getting it to the shop before the truck rolls is the other half. The defect, photo, severity and location move in seconds.

1Driver flags FailNo photo, no submit.
2Photo stampedGPS, time, ID and VIN embed at capture.
3Severity routes itCritical to a hold; the rest to a work order.
4Work order carries itDefect, photo and notes travel together.
5Repair & sign-offThe signature chain, kept on file.

A defect reported, repaired and certified before the next trip is the paper trail that proves your system works. Start free and route defects to the shop automatically.

Where the Regulation Actually Stands

Photos are best practice, not a federal mandate — but knowing which rule governs which step keeps a fleet audit-ready.

§392.7The physical pre-trip before driving; no written report federally required for this step alone.
§396.11The end-of-day DVIR — 11 components, three-month retention, the three-signature chain.
§396.13Before driving, the driver reviews the previous DVIR and signs to acknowledge repairs.
§390.32Authorizes electronic DVIRs; a May 2025 proposal would make e-DVIR language explicit.

Nothing requires a photo — but photos satisfy auditors, insurers and attorneys when the written line alone is questioned. Book a demo to see an audit-ready DVIR.

Paper Checkbox vs. Photo-Enforced DVIR

The gap isn't cosmetic — it's the difference between a record a reviewer accepts and one they challenge.

Audit dimensionPaper / checkboxPhoto-enforced
Proof of inspectionA checkmark is the only artifactGPS + time prove the driver was there
Defect proofThe word "defect" and a signatureImage bound to the exact line item
Repair verificationMechanic signs — no before/afterBefore and after photos on the work order
Audit retrievalHunt through bindersPull photo, GPS and closed work order in minutes

An auditor who finds the photo, the location ping and the closed work order attached tends to leave quickly. Start free and make every DVIR audit-ready.

Why Fleets Run Photo-Documented Inspections in Software

By hand, the photo standard quietly falls apart at scale. Software holds it on every inspection, every driver, every day.

Photo required on FailA failed item can't submit without an image.
Metadata at captureGPS, time, ID and VIN on every photo automatically.
Severity routingCritical defects go to an out-of-service hold.
Defect to work orderEach flag becomes a ranked work order with the photo.
Signature chain archivedDriver, repair and review signatures kept on file.
Per-vehicle photo historyA searchable archive for baselines and disputes.

The result: a record that proves what was found, when and where — without a follow-up call to the cab. Start free and run photo-documented pre-trips fleet-wide.

Frequently Asked Questions

1Does FMCSA require photos on a DVIR?
No — §396.11 requires the written report, not a photo. But photos are best practice and what wins audits and disputes when the written line is challenged. Book a demo to see a photo-enforced DVIR.
2What metadata should a defect photo carry?
Five fields: GPS, a server-verified timestamp, driver ID, asset/VIN, and a severity tag — all stamped automatically at capture. Book a demo to see all five at capture.
3How many photos per defect?
Four: a wide context view, a close-up, a scale reference, and a component-ID shot — enough for the shop to plan the repair. Book a demo to see guided capture.
4How do photos speed up repairs?
The defect, photo, location and severity reach the shop queue in seconds, and a critical item goes straight to a hold — so the tech sees the fault before touching the truck. Book a demo to see the defect-to-work-order flow.
Photograph · Classify · Route · Retain

Turn Every Pre-Trip Defect Into Evidence

Our software enforces the photo, stamps the metadata, routes the defect by severity and keeps the chain — so your record answers the auditor before they finish the question.


No credit card required. Free for up to 3 trucks. Built for FMCSA-compliant fleets.