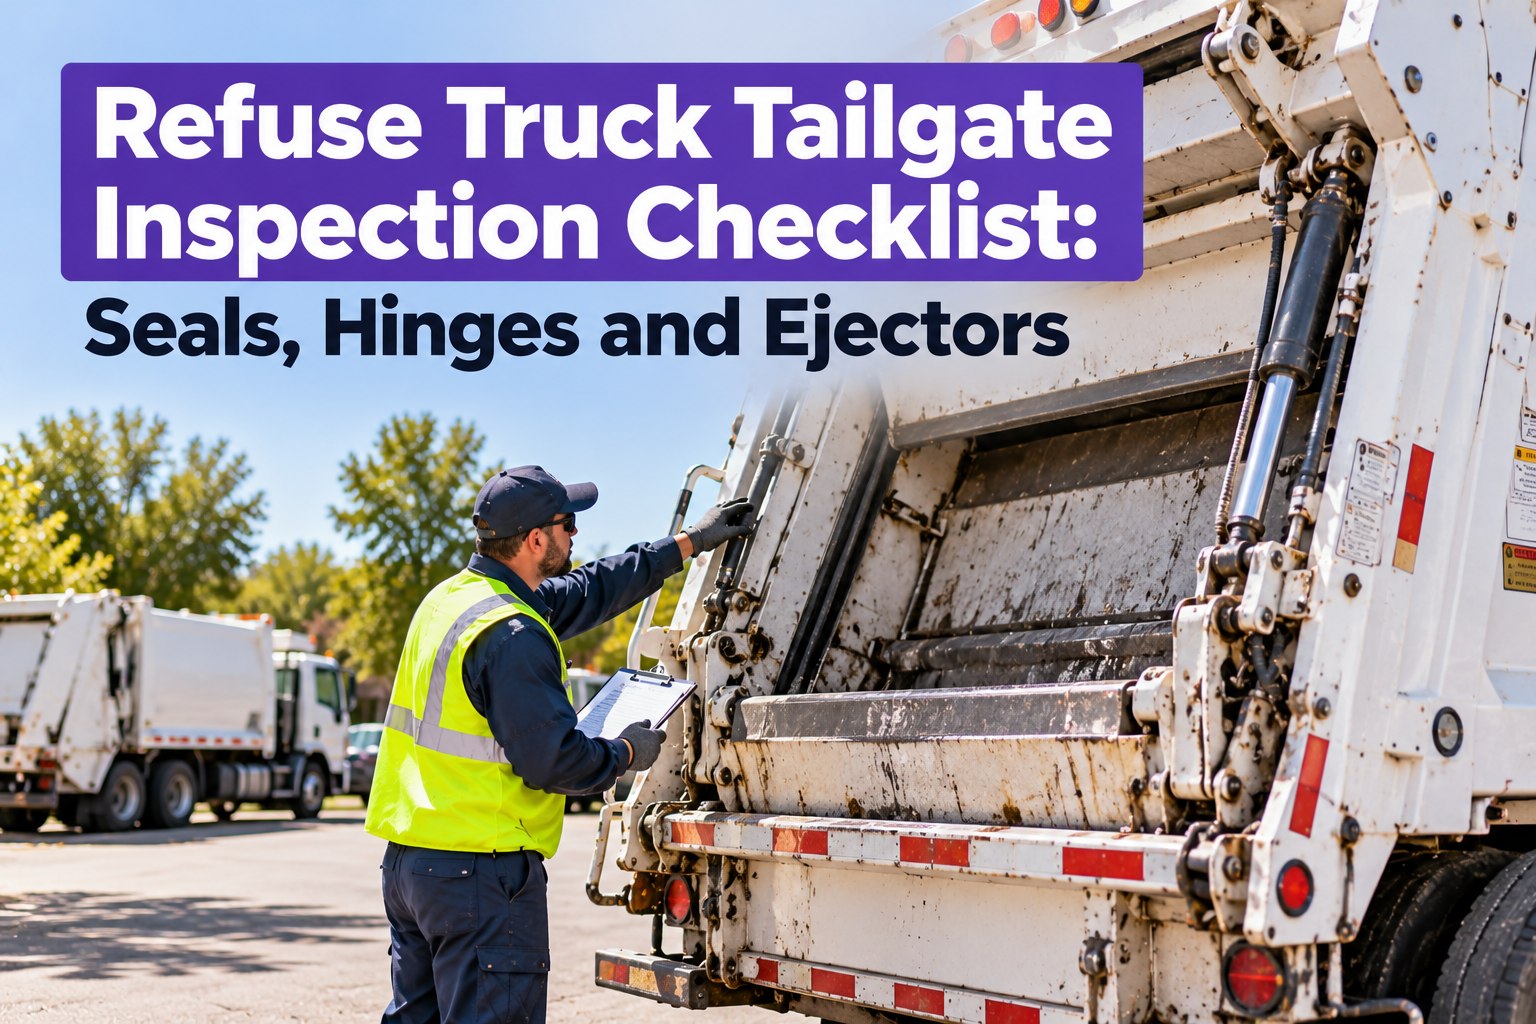
A rear loader earns its money one cycle at a time: lift, dump, pack, repeat, hundreds of times a shift. Every one of those cycles puts load on the packer blade, the hydraulic cylinders, the tailgate seals and the hoses that connect them. When one of those parts is worn, the truck doesn't fail politely. It fails mid-route, with a full hopper and a stack of missed stops behind it. This guide walks through where rear loaders wear, what to check and when, how to read a leak, and how Truck Inspection & Maintenance Management Software (TIM) turns what drivers see into repairs that actually get done. Start free and build your rear loader inspection checklist.
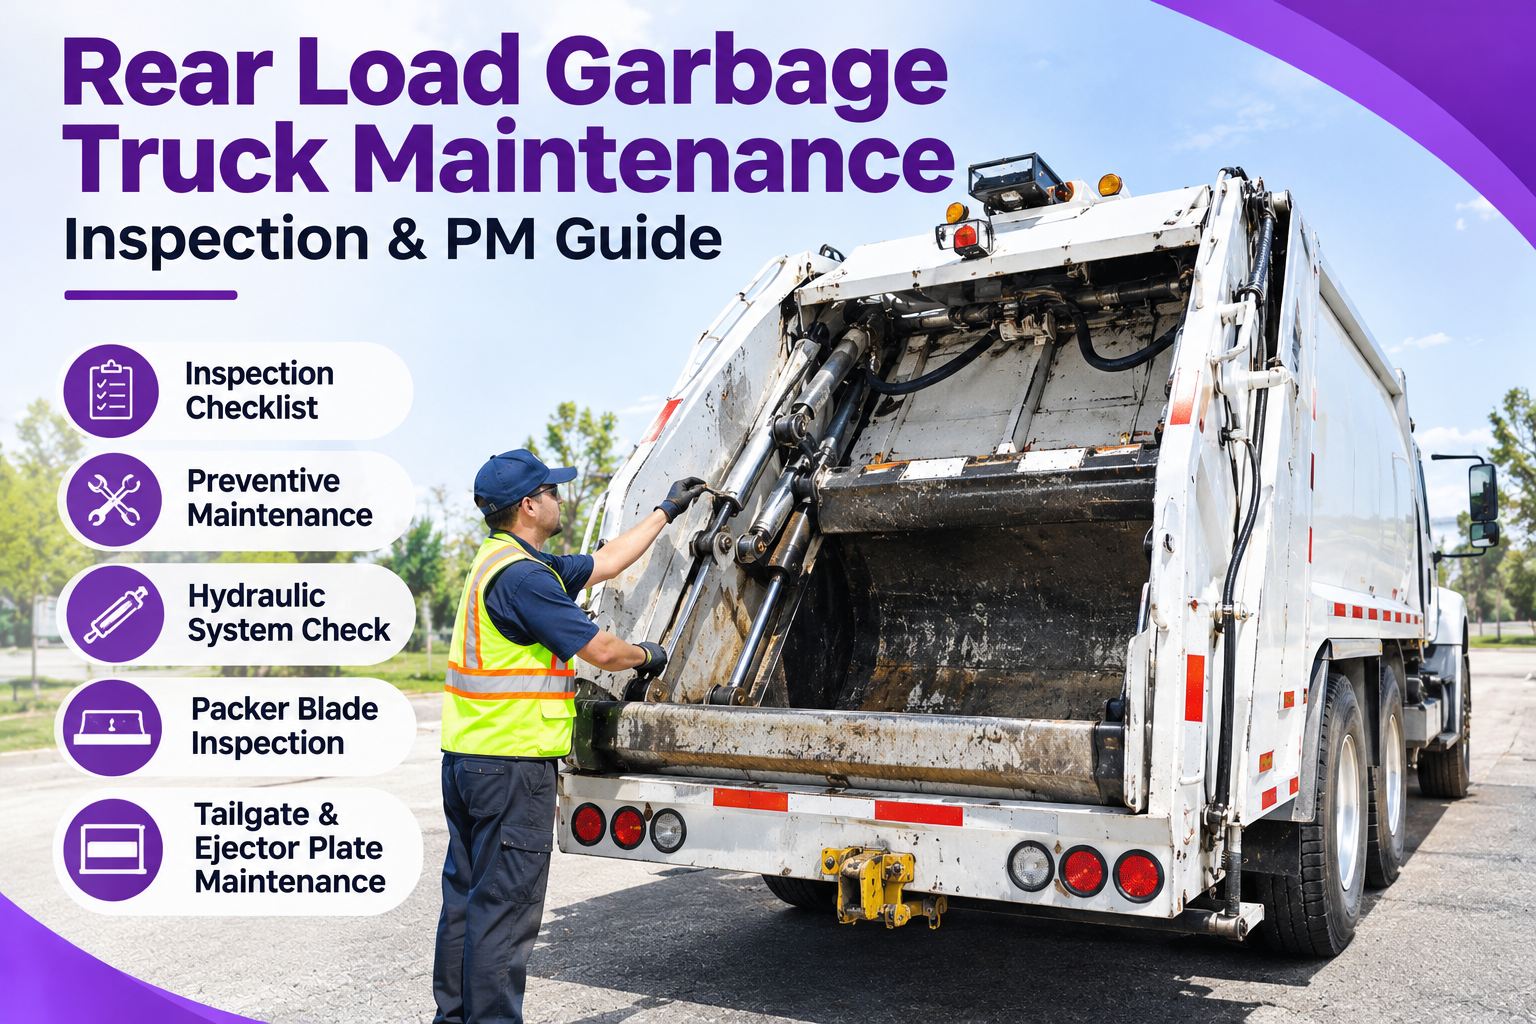
Rear Load Garbage Truck Maintenance: Inspection & PM Guide
A slow packer cycle on Monday becomes a burst hose on Thursday. Drivers notice the early signs, but a note on a clipboard rarely reaches the shop in time. TIM closes that gap: the driver logs the defect with photos from the truck, it becomes a work order for the shop, and PM services are scheduled so wear gets handled before it stops the route.
Where a Rear Loader Wears: The Six Zones
Think of the truck as six zones rather than one long list. Each has its own wear pattern, and walking them in the same order every day is how small changes get noticed.
The Shift Clock: What to Check and When
The right check at the right time keeps each job small. Follow your manufacturer's manual for exact PM intervals and lubrication points, and use this as the daily rhythm around them.
- Look under the truck for fresh fluid
- Check hydraulic fluid level
- Cycle the packer blade, tailgate and ejector once and watch for jerks or noise
- Test emergency stops, alarm, cameras and lights
- Walk the chassis: tires, brakes, mirrors
- Notice slow or uneven cycles
- Listen for scraping, whining or banging
- Watch warning lights and gauges
- Report anything new right away, not at the end of the day
- Wash out the hopper, since leachate and acids are hard on steel and seals
- Look for chafed hoses and loose fittings
- Log every defect with a photo
- Grease pins and bushings to the OEM chart
- Change filters and fluid on schedule
- Inspect cylinder rods, seals and hose routing
- Check blade and tailgate wear parts
- Torque and fastener checks
What the Truck Is Telling You: Symptom Guide
Drivers usually notice changes before any gauge does. This table helps turn "something's off" into a useful defect report. The causes listed are common possibilities, not a diagnosis, so have a qualified technician confirm.
| What the driver sees | Possible causes | Report and act |
|---|---|---|
| Slow or jerky packer cycle | Low or contaminated fluid, air in the system, worn pump or valve | Check level, log the defect, schedule diagnosis |
| Blade scraping or binding | Worn wear shoes or strips, debris, worn pins | Inspect the hopper and blade, replace worn parts |
| Fluid on the ground or on cylinders | Failing seal, hose or fitting | Photograph, tag, repair before the route |
| Tailgate won't seal or leachate drips | Worn seal, bent latch or hinge wear | Repair promptly: it's both a safety and an environmental issue |
| Scored or pitted cylinder rod | Abrasion or corrosion damaging the rod seal | Plan the rod or cylinder repair before the seal fails |
| Hydraulic system running hot | Low fluid, plugged cooler, restricted flow | Report it and inspect before the next shift |
Leak Triage: Green, Amber or Red?
Turn "I Think Something's Leaking" Into a Work Order
Give every driver the same checklist, give the shop the photos, and keep one history for each truck: defects, repairs, PM and costs.
How TIM Moves a Defect From the Curb to the Shop
Here is how one defect travels through TIM, so the shop sees it, owns it and closes it.
Example cards for illustration.
Frequently Asked Questions
Keep Every Rear Loader on Its Route
Put inspections, defects, work orders and PM in one system, and every truck's status is a tap away instead of a search through clipboards and spreadsheets.