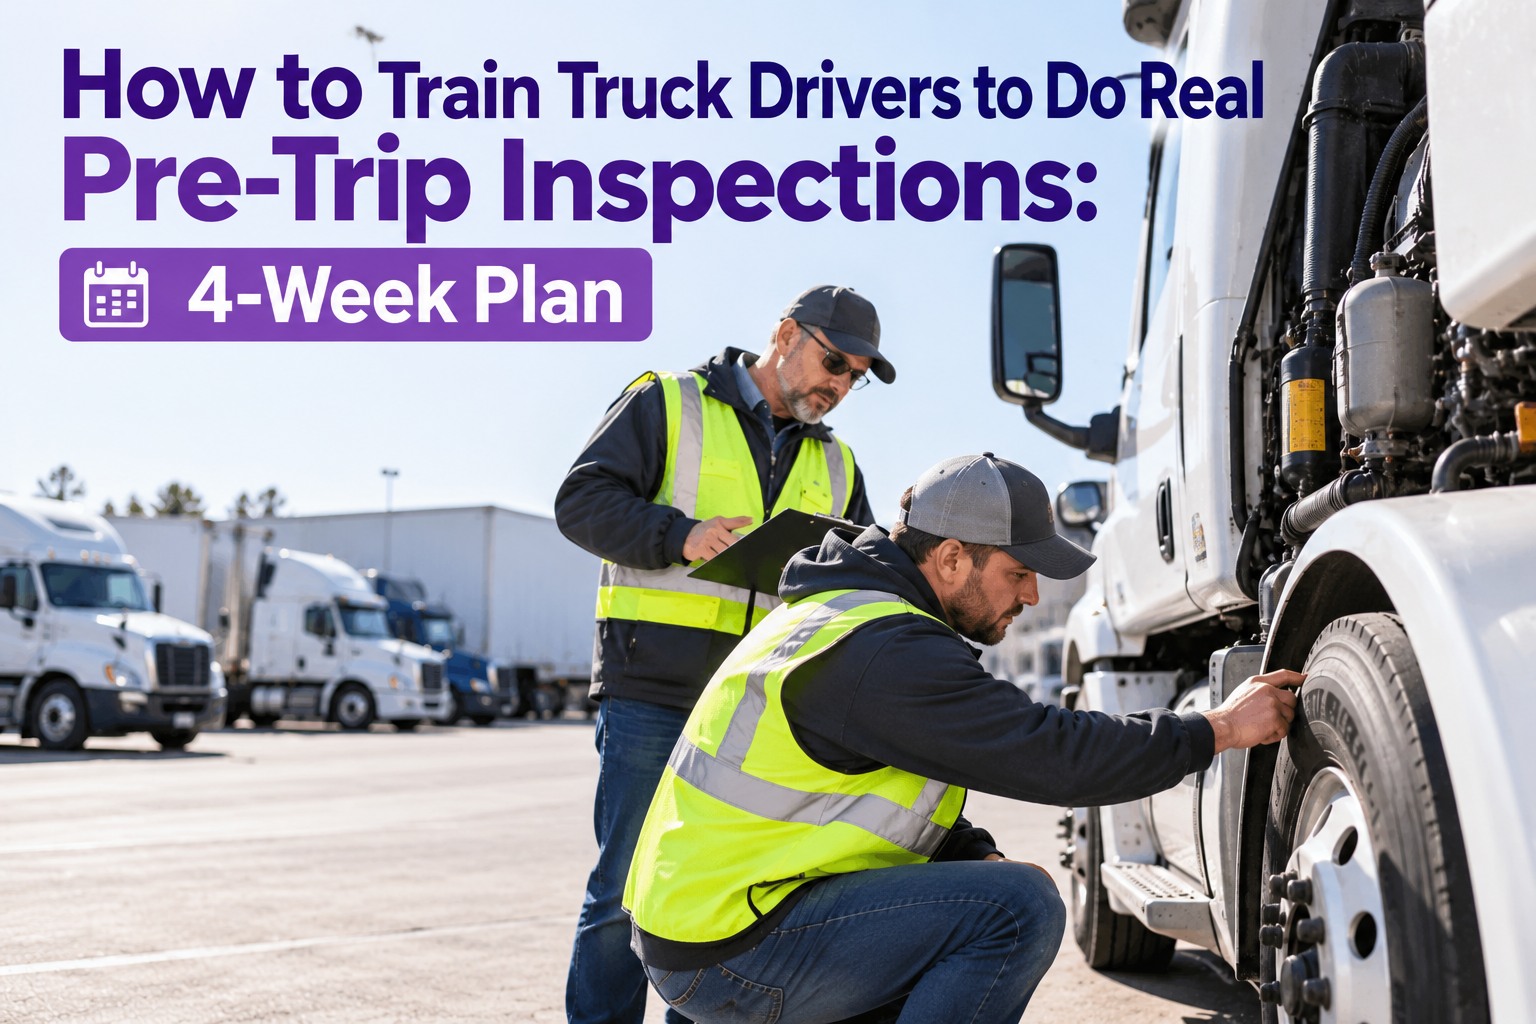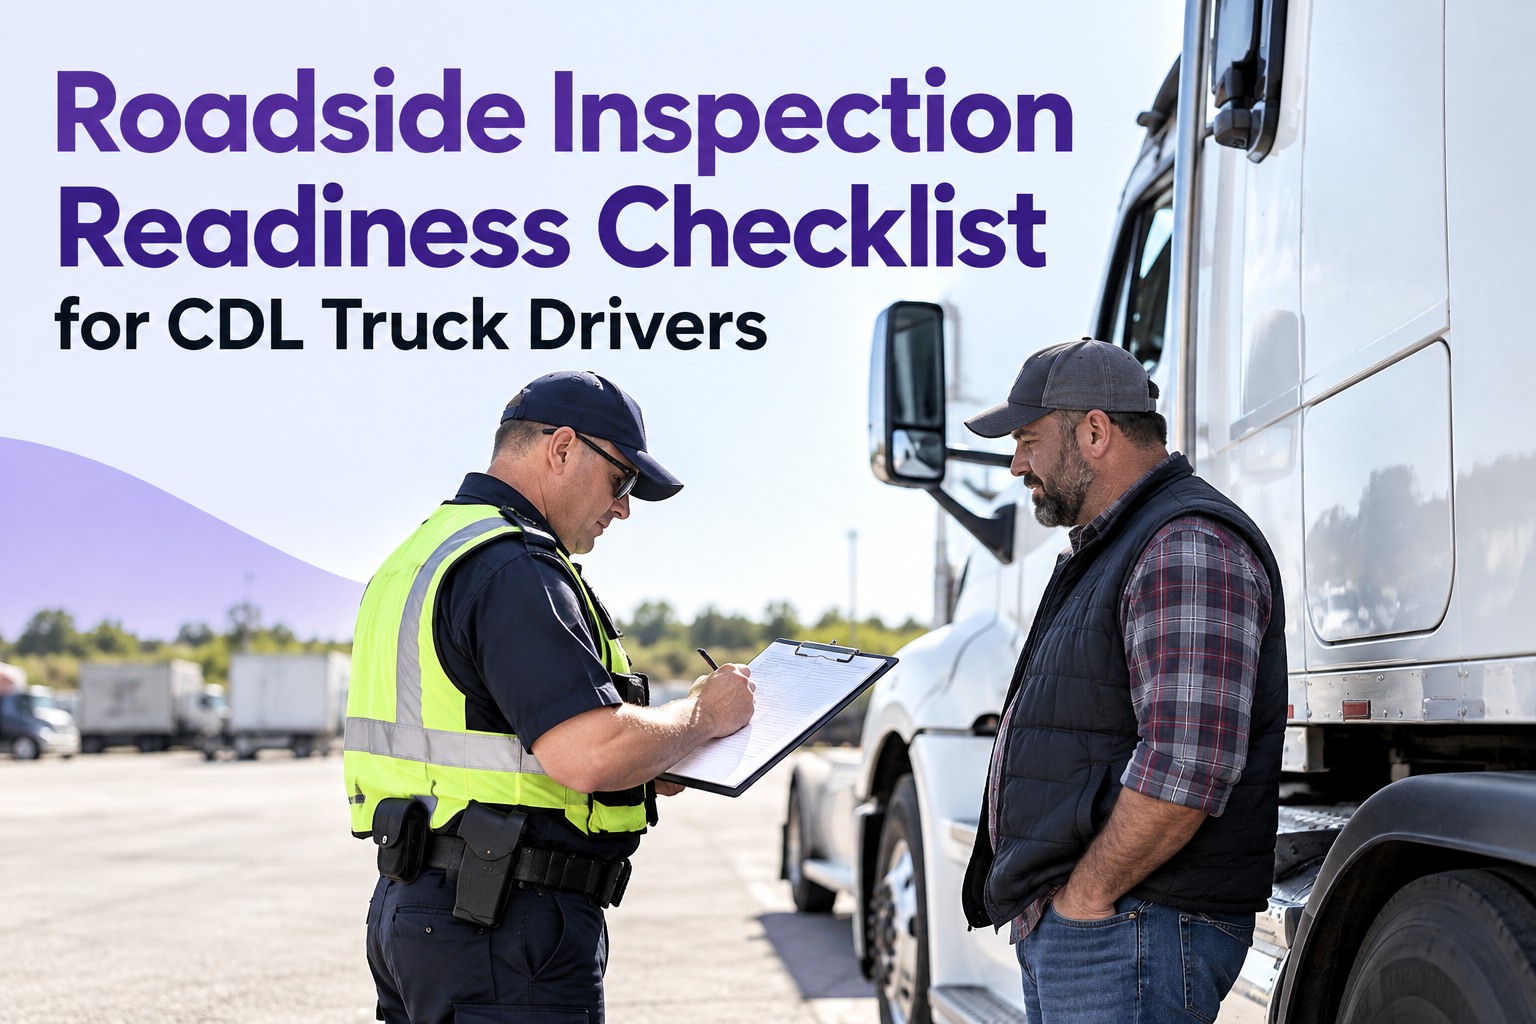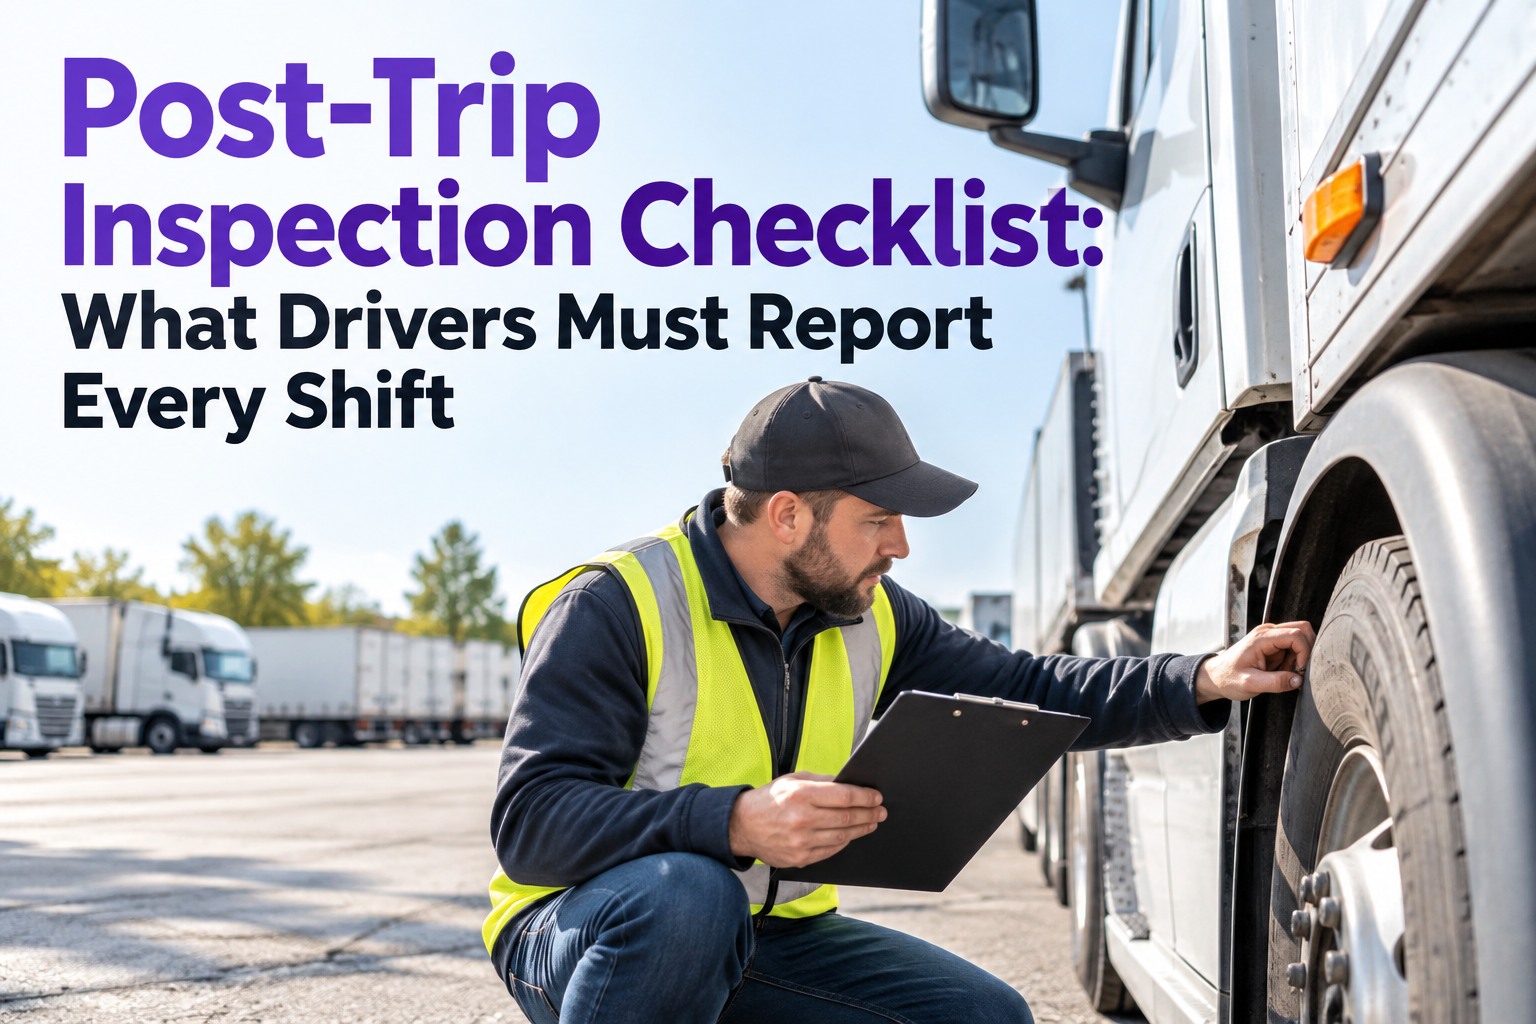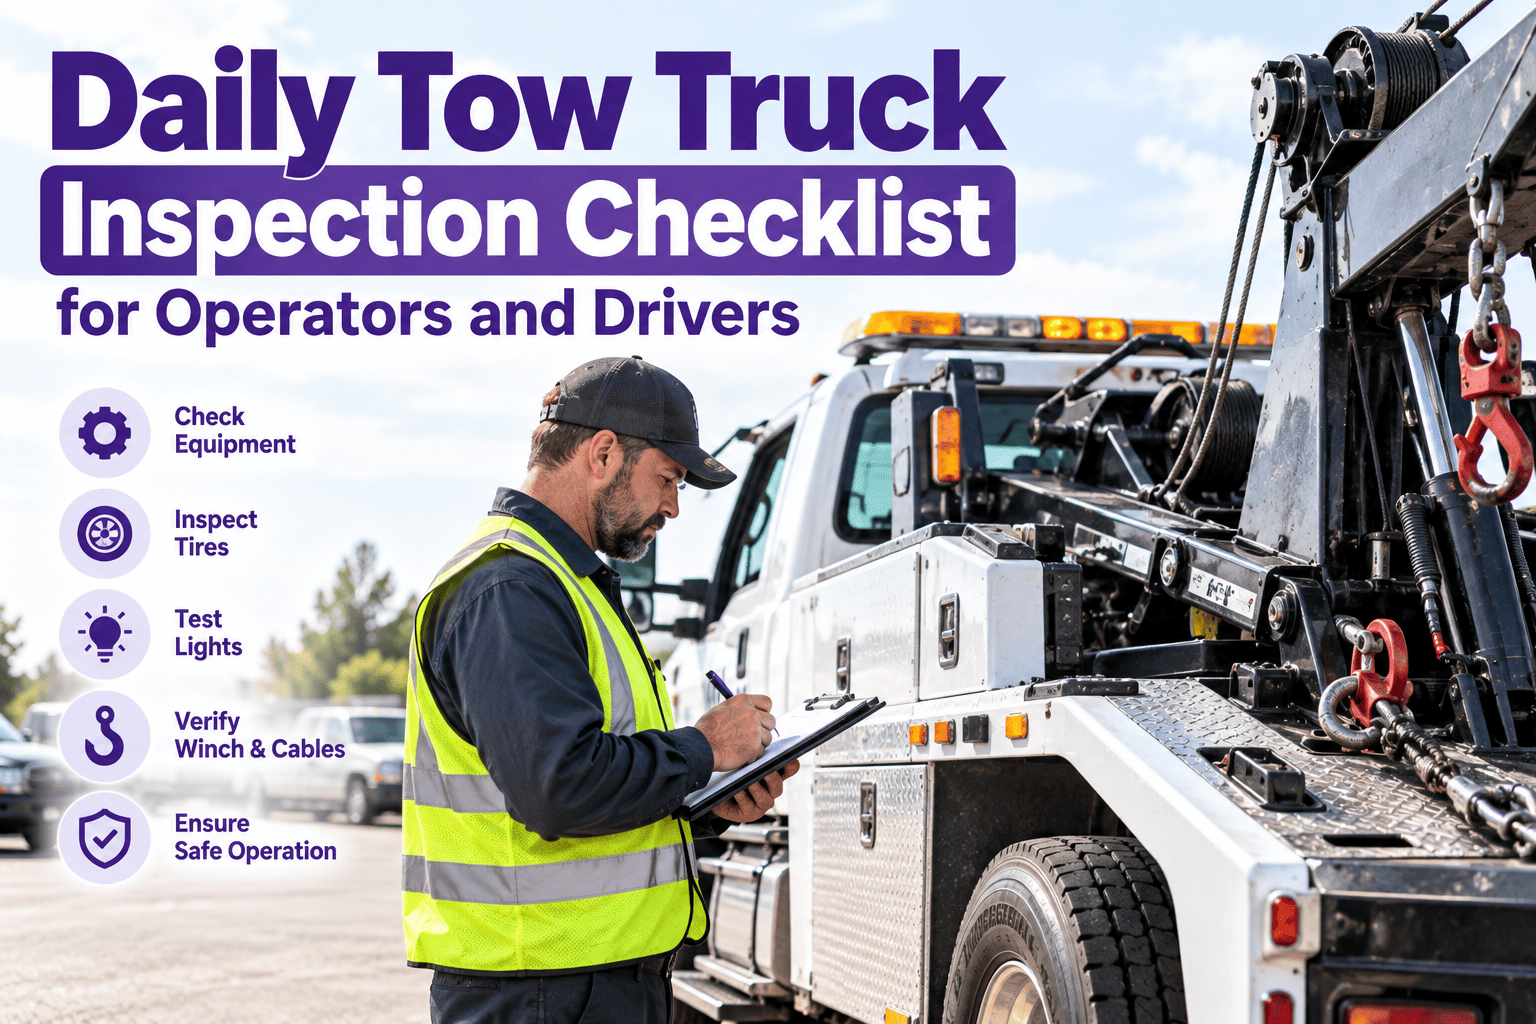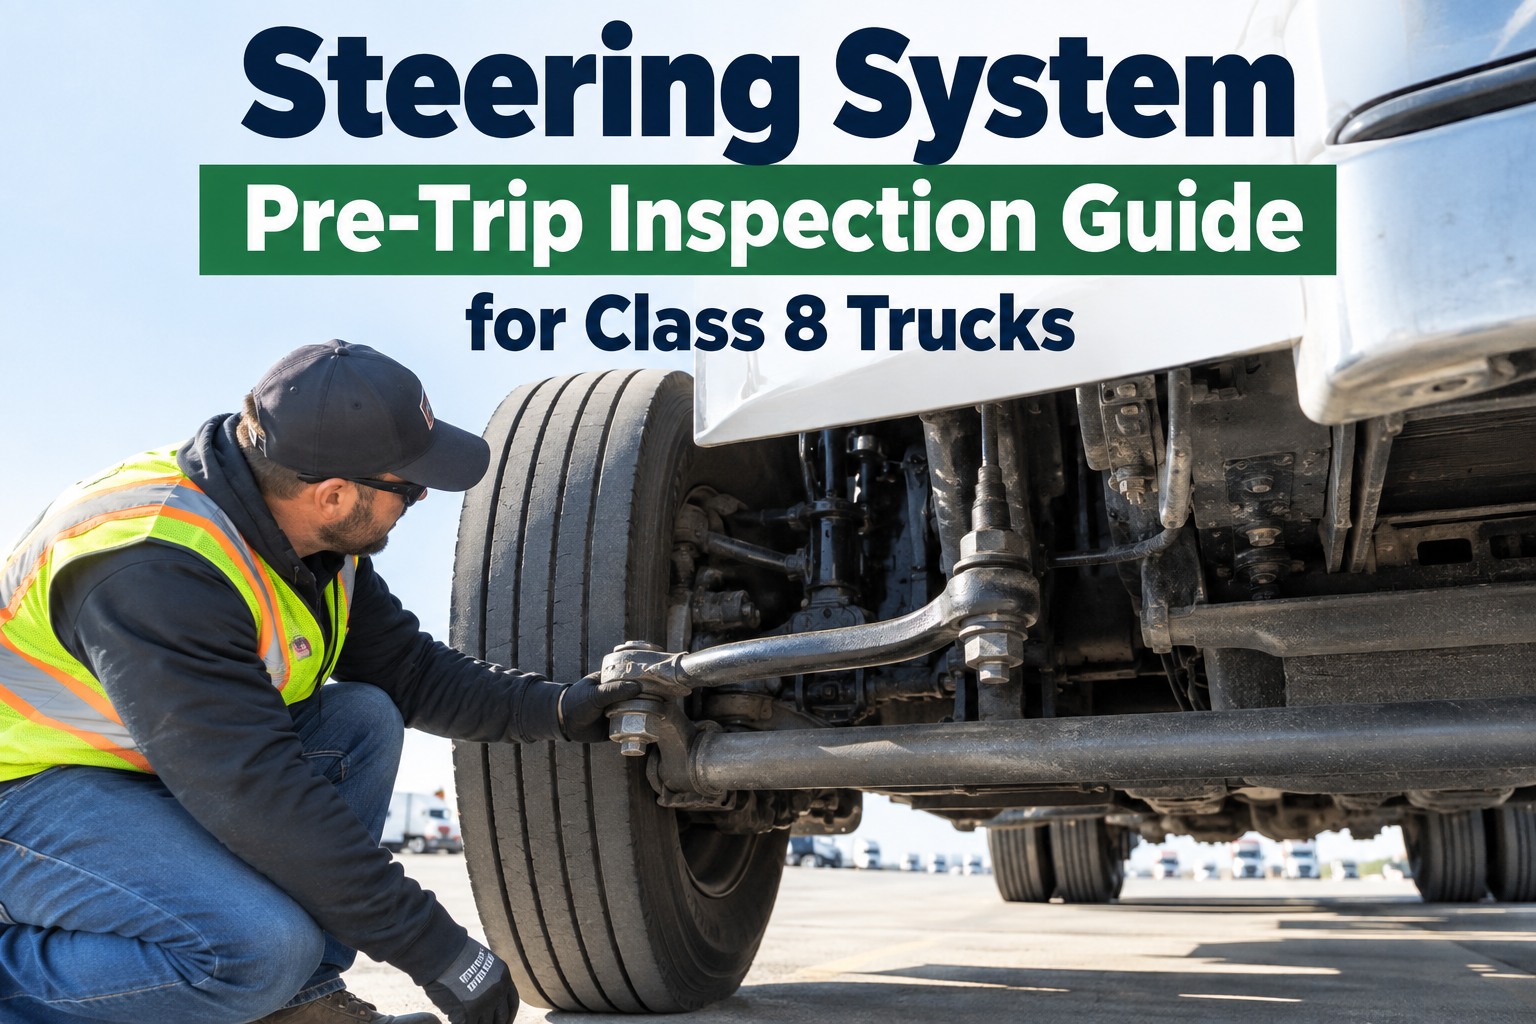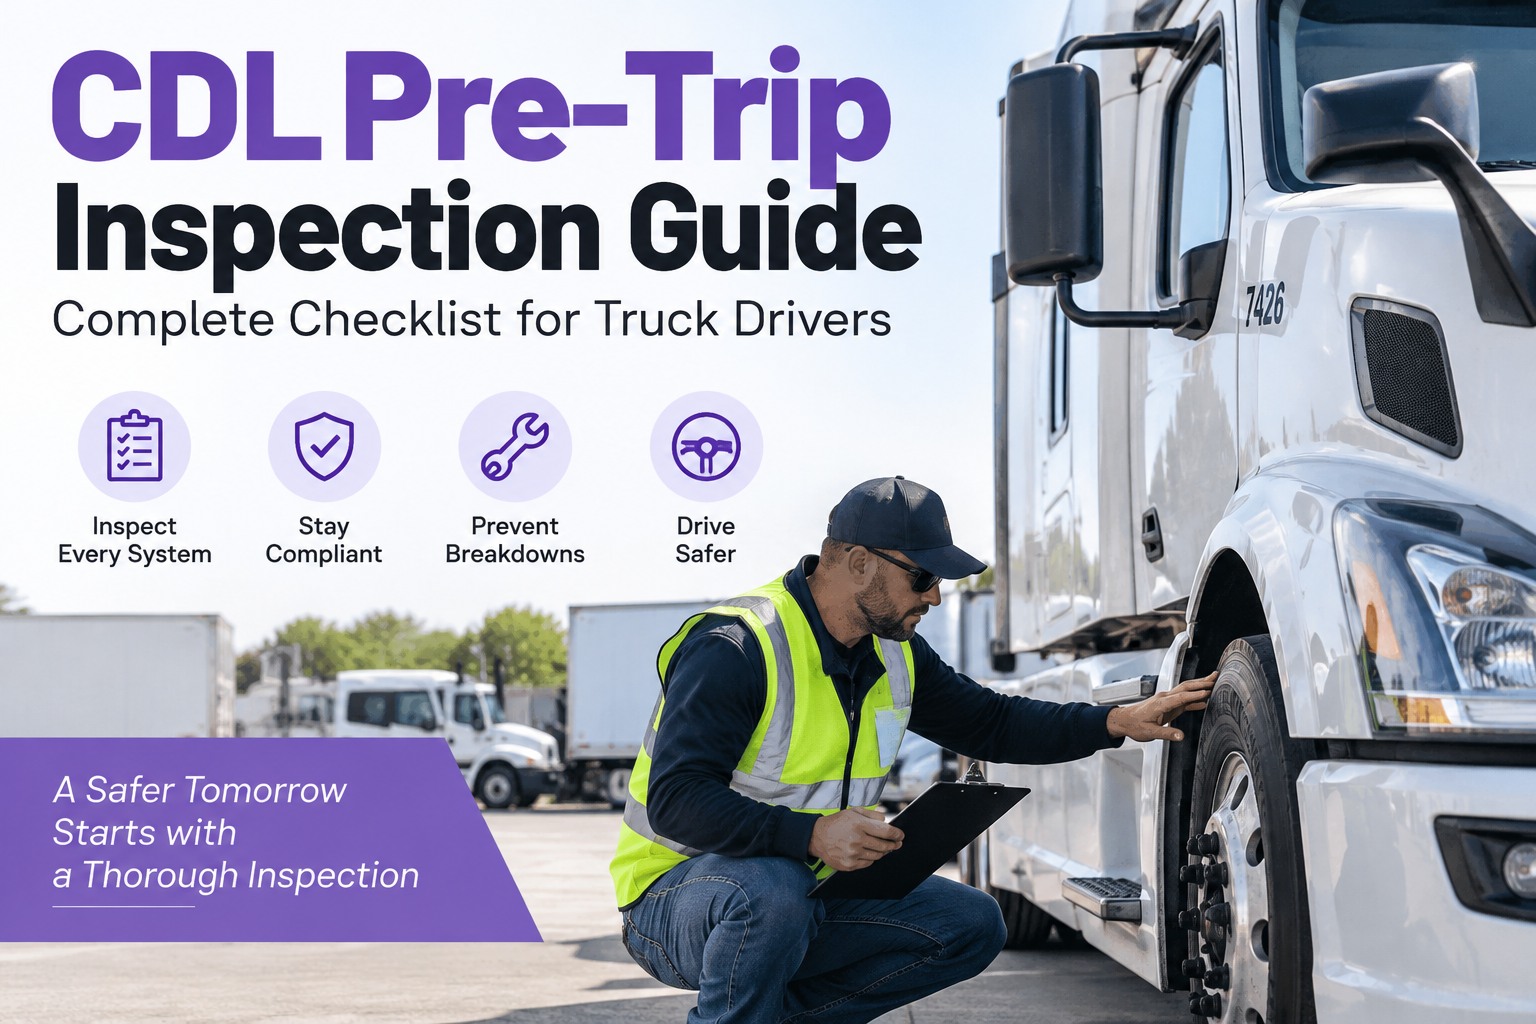
Ask ten CDL drivers what a pre-trip inspection is and you'll get ten different answers some walk seven points, some skim the tires and lights, and some just "make sure nothing's leaking" and go. The rule itself is not vague: under 49 CFR 392.7 and 396.13, the driver must personally verify the truck is in safe operating condition before every trip. This guide is the checklist itself — the full CDL walkaround by zone, the defect criteria examiners score against, and the air-brake test sequence in the exact order it's called out. Start free and put the CDL-grade pre-trip on every driver's phone.
Every Pre-Trip Done Right, Every Defect Caught Before Dispatch
A rushed walkaround is how a 4/32" steer tire, a leaking chamber, or a missing triangle sneaks past the yard and into a roadside inspection. Truck Inspection & Maintenance Management Software runs the whole loop for you: a guided CDL-order pre-trip on the driver's phone, an eDVIR filed at the end, and any failed checkpoint routed straight to a graded work order — so the truck that leaves is the truck that passed.
The 7-Point Walkaround, at a Glance
FMCSA and every major CDL training school teach the pre-trip as a walk in a fixed order — approach, engine, driver side, rear, passenger side, cab, coupling. The order isn't arbitrary: it's the shortest path that touches every safety-critical component once, and it's what an examiner expects to see. Deviate and you'll miss something; follow it and every future inspection becomes muscle memory. Our software locks drivers into this same 7-zone sequence on their phone, so the sequence a new driver learns for the CDL exam is the exact same sequence they run every day on the job.
Zone 1–2: Approach & Engine Compartment
Before you touch the truck, look at it. Two seconds of stepping back tells you what an hour with a flashlight sometimes won't — a leaning stance, a puddle no one wiped up, a tire that's obviously low. Then open the hood: this is where the majority of preventable breakdowns are visible if someone bothers to look. In our software, Zones 1 and 2 open with a required photo of the truck's stance and a checklist of six under-hood checkpoints — no advancing to Zone 3 until each is marked, and any defect flagged here becomes a graded work order before the driver gets to the cab.
- Vehicle sits level — no lean toward a soft tire or collapsed spring
- No fluid on the ground under engine, transmission, or fuel tank
- Area around and under truck clear — no leaks, obstacles, or debris
- Body damage, previous defect placards, or "do not operate" tags
Zone 3–4: Driver-Side, Rear Tractor, Tires & Brakes
Tires and brakes are the two categories that dominate every out-of-service report ever published — brakes account for around 41% of vehicle OOS violations at the 2025 CVSA Roadcheck, tires around 21%. If your walkaround is thorough anywhere, it needs to be thorough here. Our software makes the driver measure and record each wheel position individually — tread depth for every tire, pushrod stroke for every brake — so a fleet-wide report shows every wheel end on every truck at a glance, and a wearing pattern gets caught two inspections before it hits an OOS threshold.
- Steer tires — minimum 4/32" tread depth
- Drive & trailer tires — minimum 2/32" tread depth
- No cuts, bulges, exposed body cord, or sidewall damage
- Inflation within spec (check with a gauge, not a boot)
- Valve stems capped, no missing lug nuts, no rust streaks
- Duals not touching each other or the frame
- Brake chamber mounted, no cracks, no missing bolts
- Pushrod stroke within spec for chamber size when fully applied
- Slack adjusters aligned; no more than 1" of free play
- Air lines secure, no chafing, no visible leaks
- Brake linings/pads visible & above minimum thickness
- Drums and rotors free of cracks through the friction surface
Zone 5: The Coupling System
The coupling is one component the CDL exam almost always tests and roadside inspectors always check — because a failed coupling doesn't cause a repair, it causes a runaway trailer. Every part of it has a pass/fail criterion. In our software, Zone 5 is a six-step guided sequence with a required photo of the locked jaws around the kingpin — the single most-checked coupling item on both the CDL exam and every Level I roadside inspection.
Zone 6: Trailer Walkaround
The trailer is its own vehicle for inspection purposes, and it carries its own OOS criteria under the same 49 CFR standards. Walk it the same way you walked the tractor: front to rear, both sides, top to bottom. Our software treats the trailer as its own asset with its own inspection record and DVIR — so on a drop-and-hook, each trailer carries its own defect history, and a bad wheel end doesn't get lost because it happened to be hooked to a different tractor last shift.
The Whole Pre-Trip, on One Phone
Our Truck Inspection & Maintenance Management Software replaces the clipboard with a guided digital pre-trip that walks the driver through every zone in FMCSA-approved order — photo capture at each checkpoint, per-wheel measurement fields for tires and brakes, automatic defect-to-work-order routing the second a failure is logged, and a signed-off DVIR at the end that satisfies both §392.7 and §396.11 and stands up in a 2026 eDVIR audit. Fleets use it to move above 95% inspection compliance and cut walkarounds from 30–45 minutes on paper to under 10 minutes on mobile.
Zone 7: In-Cab Checks & The Air-Brake Test
The last zone is done sitting in the driver's seat, and it's where the CDL skills test typically ends. The air-brake test is a specific sequence in a specific order — examiners score it as a script, and each step has a numeric pass criterion. Our software turns that script into a six-step guided sequence with numeric entry for each threshold: the driver keys in the actual cut-in psi, the actual air-loss rate, the actual pop-out pressure — and any number outside the pass window auto-grades the truck as out-of-service and blocks dispatch until a mechanic signs off.
In-cab checkpoints
- Windshield, wipers, mirrors clean and adjusted
- Steering-wheel play under 10° (about 2" of movement)
- Seat belt fastens and retracts, no cuts or fraying
- Horn, defroster, heater/AC all functional
- Emergency equipment present — 3 reflective triangles, fire extinguisher (5B:C min, 10B:C for hazmat), spare fuses (2026 rule change — see FAQ)
- Registration, medical card, driver's license, permits accessible
Air-brake test sequence
- Governor cut-in / cut-outCompressor cuts in around 100 psi, cuts out around 125 psi
- Air-loss rate — releasedWith engine off, brakes released: loss ≤ 2 psi/min (single) or 3 psi/min (combo)
- Air-loss rate — appliedFull brake application: loss ≤ 3 psi/min (single) or 4 psi/min (combo)
- Low-air warningFan brakes until warning activates — must trigger before 55 psi
- Spring-brake pop-outContinue fanning — spring brakes must apply between 20 and 45 psi
- Static leak testBuild back to full pressure, engine off, brakes applied and held for 1 minute
The Defect Grade — What Fails a CDL Test vs. What Grounds a Truck
Not every defect you find in a pre-trip is an out-of-service condition, and not every OOS condition fails a CDL exam. Knowing the difference is what separates a fast, clean inspection from a slow, second-guessing one. Our software builds this grading into the defect field itself: the moment a driver logs a failed item, the app tags it as OOS or scheduled based on the same FMCSA thresholds below — the truck is either grounded on the spot or added to this week's PM queue, with no human debate in between.
| Defect | CDL exam | Fleet action | OOS? |
|---|---|---|---|
| Missing reflective triangle (1 of 3) | Fail item | Replace before dispatch | Yes |
| Steer tire 3/32" tread depth | Fail item | Ground truck | Yes |
| Pushrod stroke over spec | Fail item | Adjust or replace chamber | Yes |
| Air loss > 4 psi/min applied (combo) | Fail item | Repair before dispatch | Yes |
| Cracked windshield in wiper path | Fail item | Replace before dispatch | Yes |
| Small oil weep at valve cover | Note & continue | Schedule this week | No |
| Marker light bulb out (non-brake) | Note & continue | Repair before dispatch | No |
| Fuel drip (any, any location) | Fail item | Out of service — do not move | Yes |
Frequently Asked Questions
Give Every Driver the Full Pre-Trip on Their Phone
Our Truck Inspection & Maintenance Management Software walks the driver through every zone in FMCSA-approved order, records per-wheel tire and brake measurements, captures photos and defect grades in real time, auto-generates the work order the moment a failure is logged, and closes the loop with a signed-off eDVIR — the same audit trail an inspector would want to see. Leading fleets use it to lift PM compliance above 95%, shorten walkarounds under 10 minutes, and stay CDL- and DOT-ready year-round.